
Hand Drill for Crafts: A Beginner Setup Guide for Small Projects
August 10, 2026
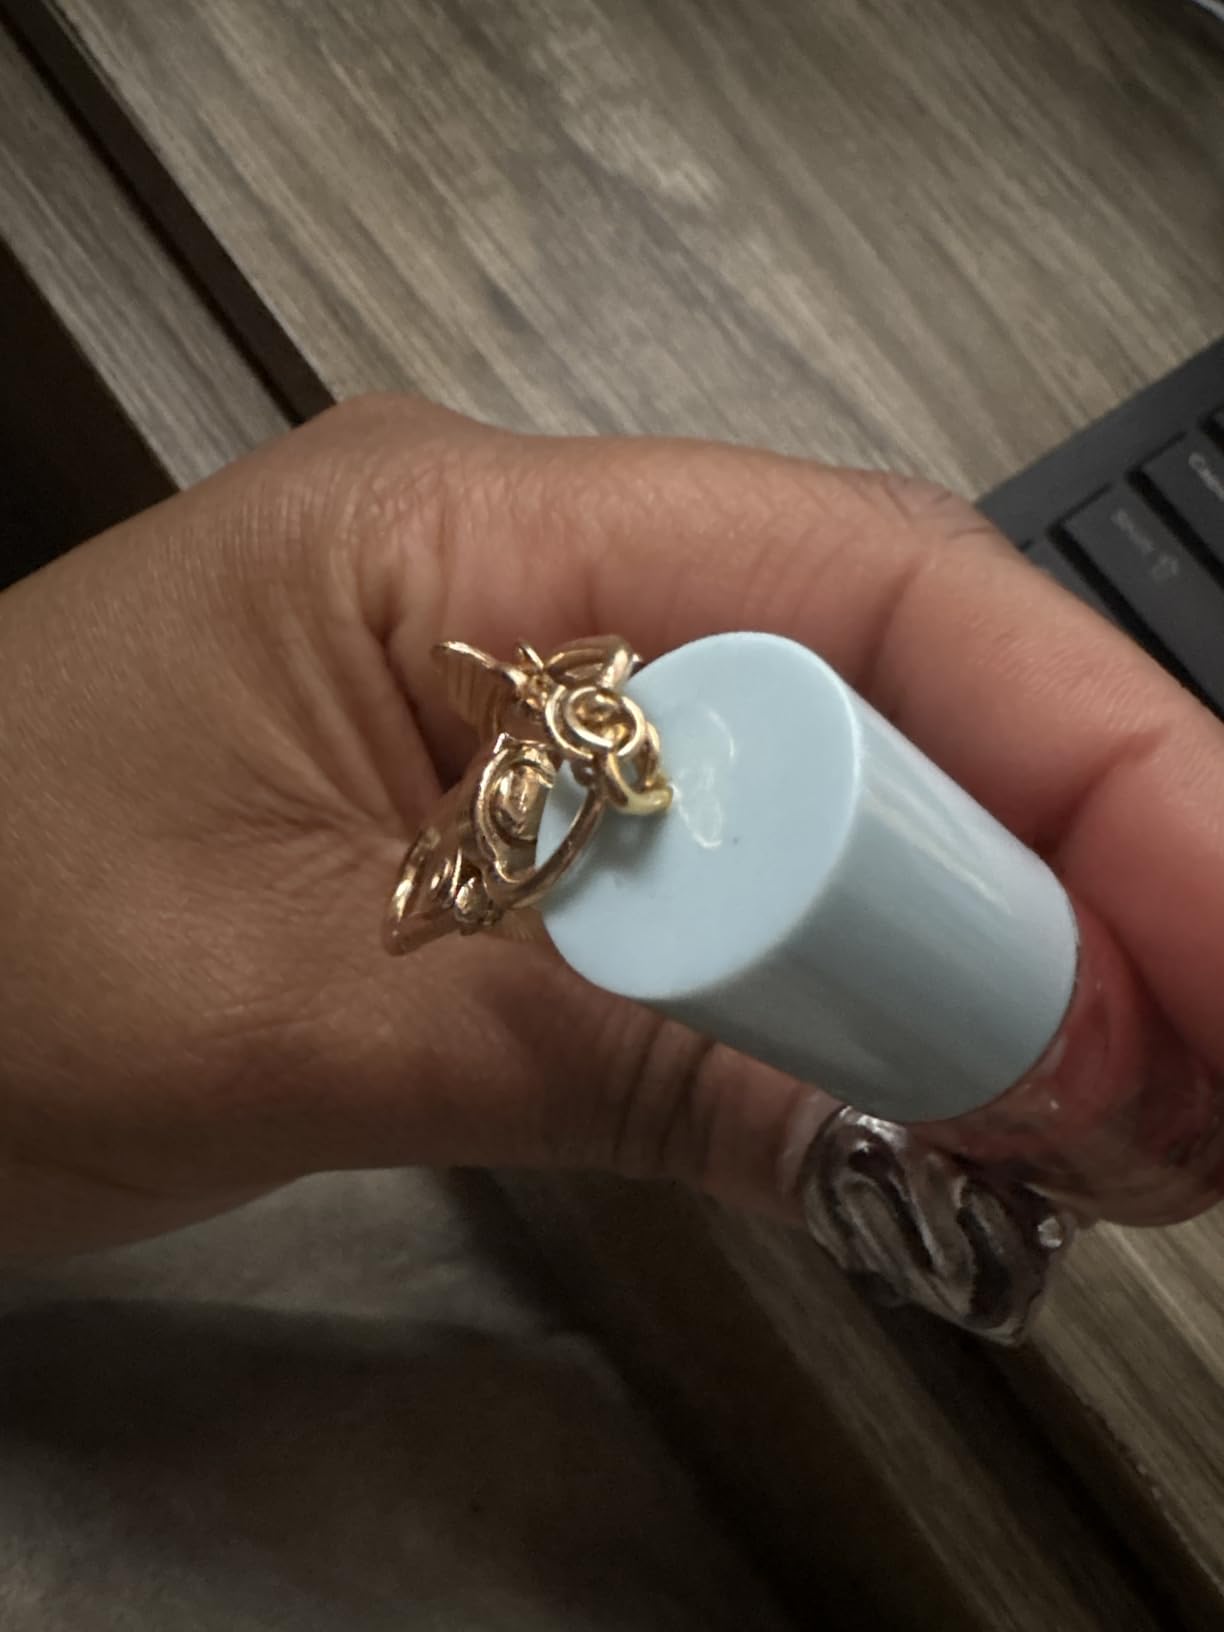
Small craft pieces leave little room for a wandering bit or an oversized hole. A hand drill for crafts gives the maker direct control over alignment, pressure, and every turn of the bit. That slower pace is useful for resin miniatures, beads, model parts, and other small work where a full-size powered drill may be difficult to position.
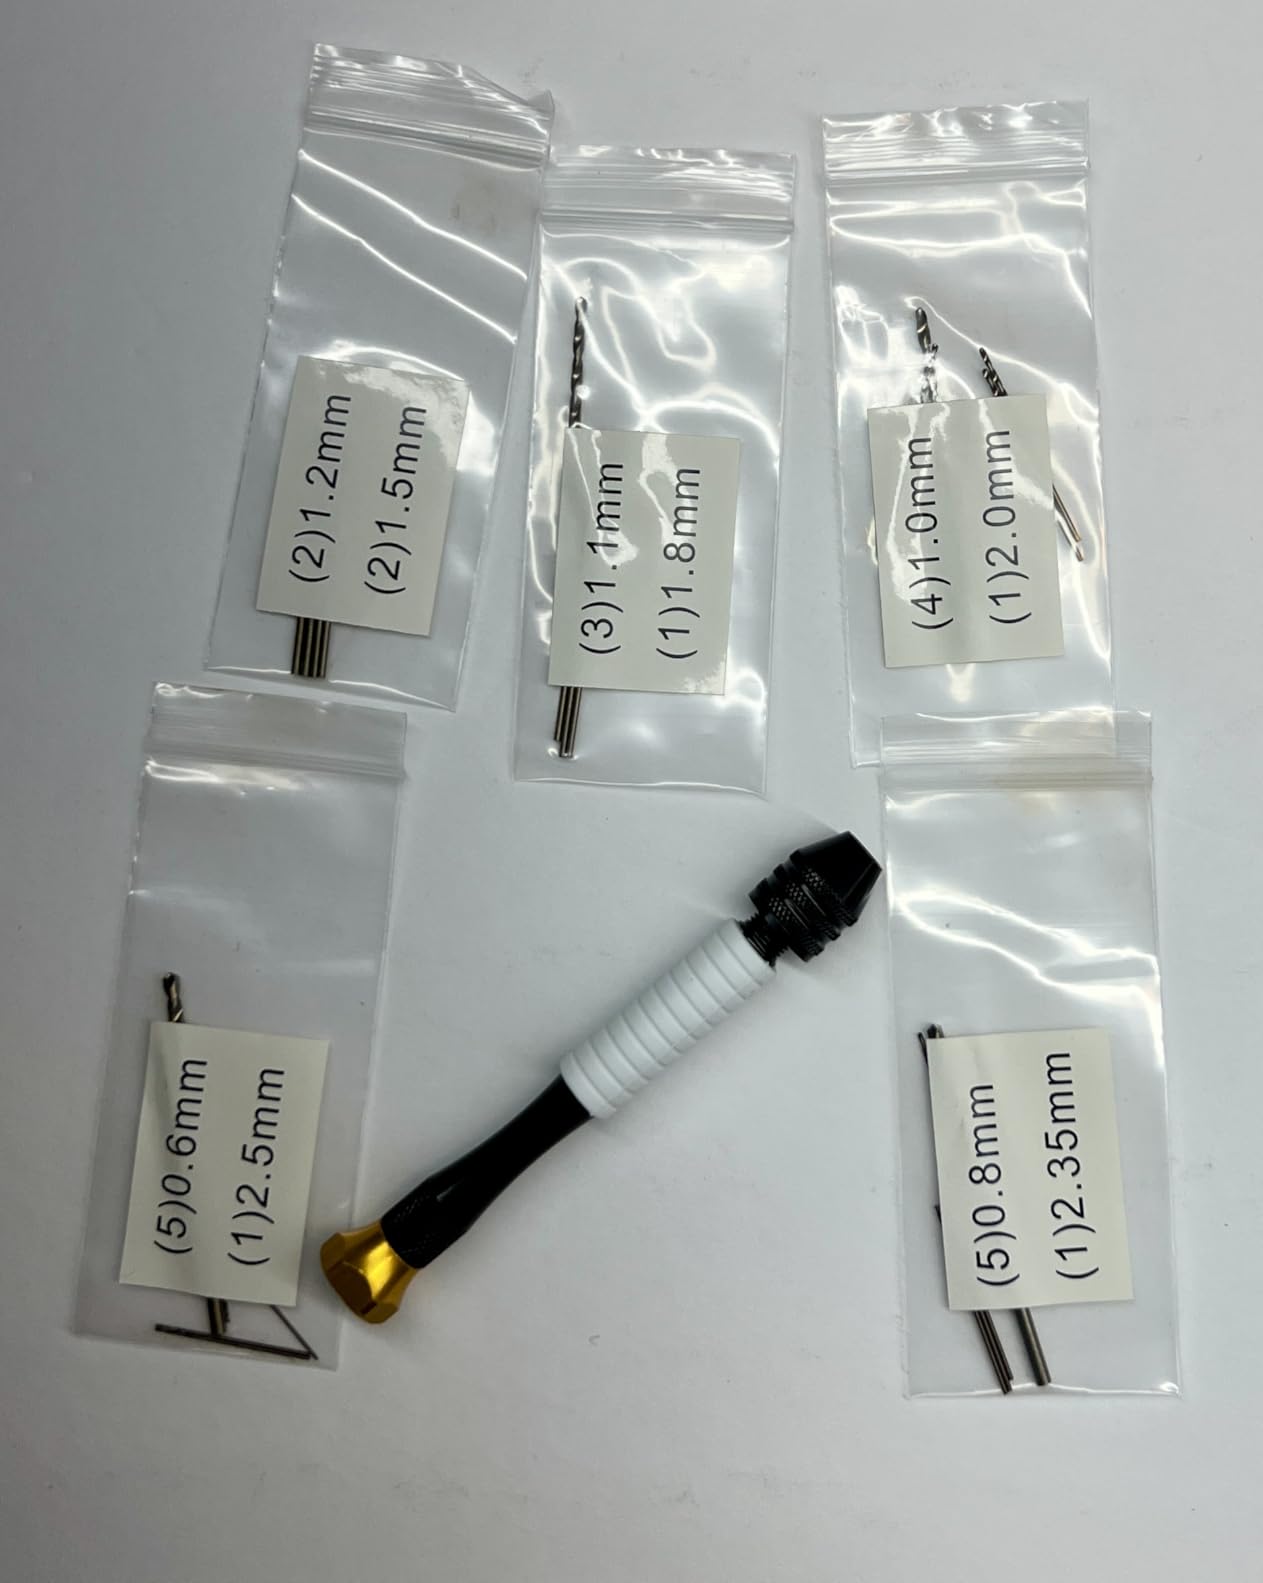
The Paltren set combines a manual pin vise with 25 micro drill bits. This beginner guide explains a conservative setup and drilling sequence without assuming one technique fits every material. Check the material maker’s instructions and practice on scrap whenever possible.
What to Check Before Using a Hand Drill for Crafts
Begin with the workpiece, not the tool. Confirm that the part is thick enough for the planned hole, identify the exit point, and decide how the piece will be supported. Brittle, very thin, or finished surfaces deserve a hidden-area test before drilling.
- Mark the hole center with a fine pencil or another material-appropriate marker.
- Support the piece on a stable surface that can safely receive the bit.
- Use eye protection and keep fingers outside the bit’s path.
- Choose a bit smaller than the final opening when a pilot hole is practical.
Choose and Secure a Micro Drill Bit
A micro drill bit set offers several sizes, but the correct choice depends on the project. Match the bit to the wire, pin, fastener, or opening you need rather than choosing by appearance alone. Insert the bit straight into the pin vise and tighten the holder so the bit does not slip. Keep only enough bit exposed to reach the required depth; excessive overhang can make a fine bit easier to bend.
Start the Hole Without Letting the Bit Wander
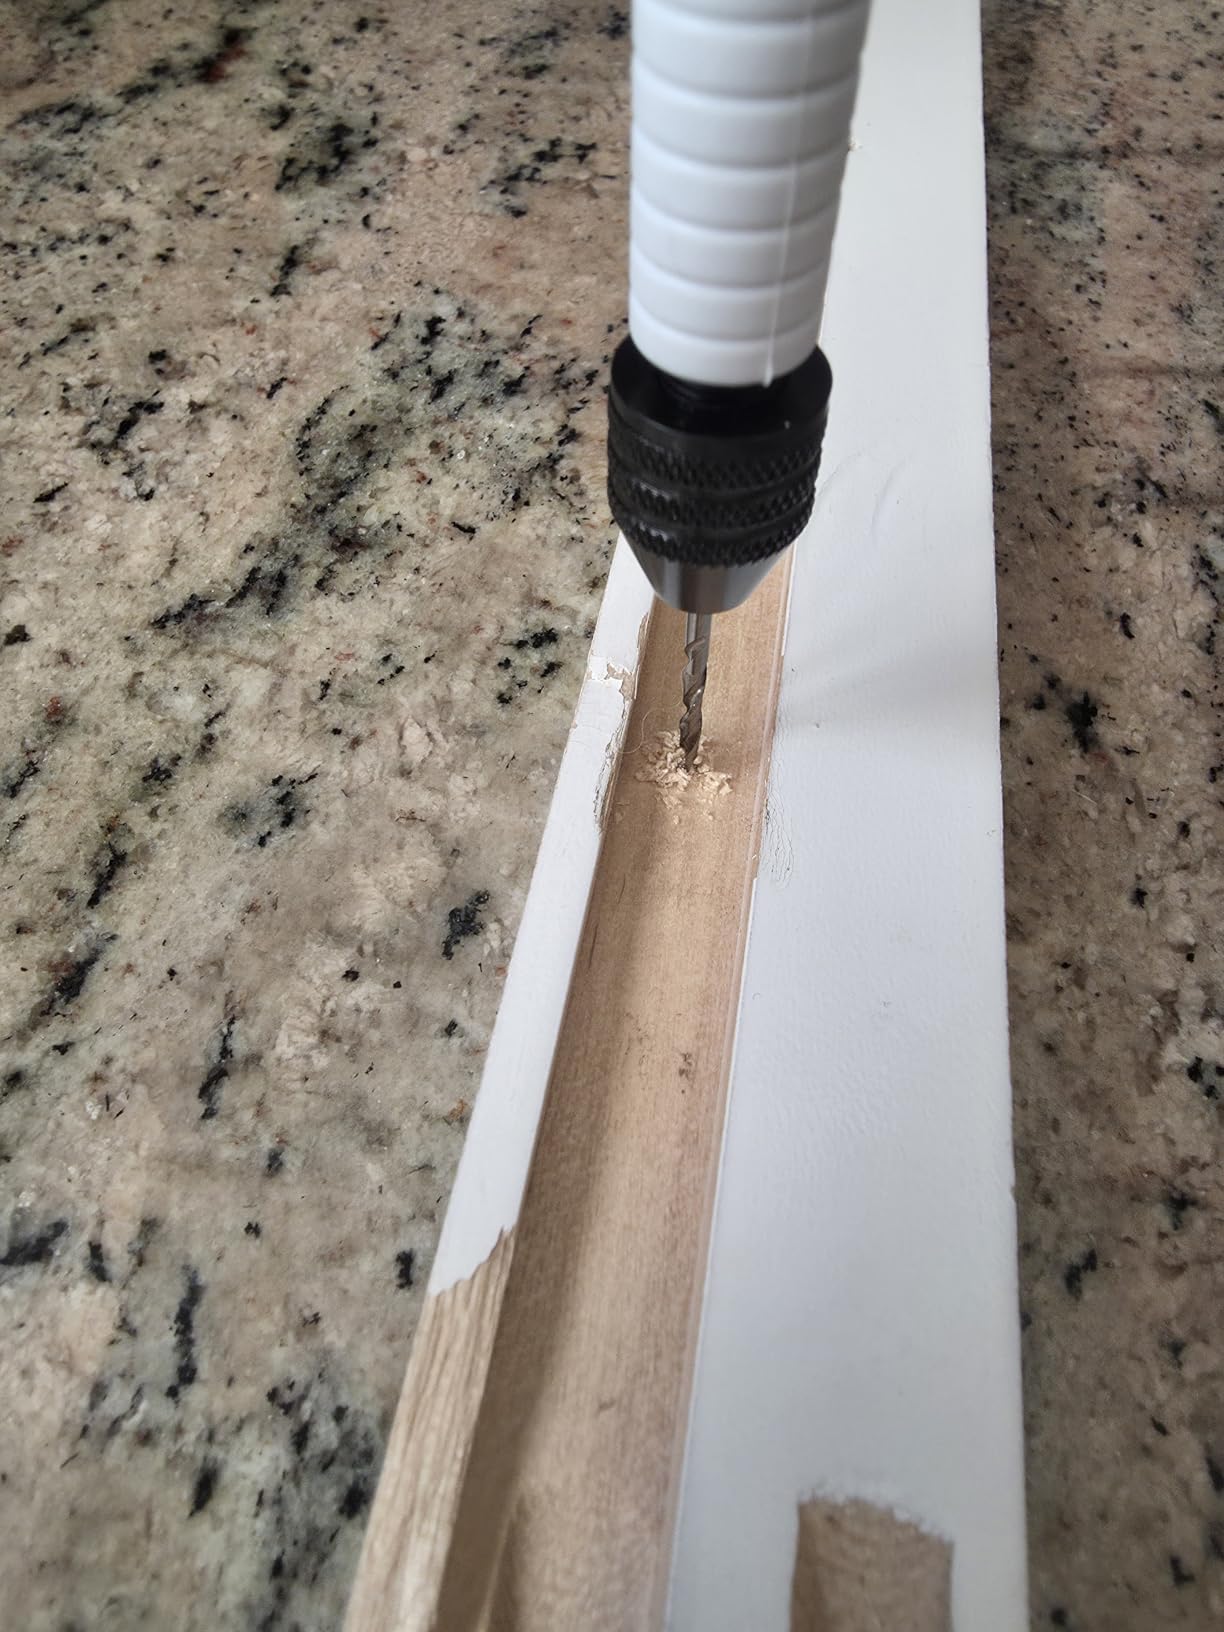
Place the tip on the center mark and hold the manual drill in line with the intended hole. Use light pressure while turning slowly. The goal at the start is to establish a centered path, not to remove material quickly. If the bit skates across the surface, stop and reassess the mark instead of forcing it.
Once the bit has a stable start, continue with small, controlled turns. Periodically back the bit out to clear debris. Side pressure can bend a small drill bit, so correct the tool’s angle by stopping and repositioning rather than levering it while the bit is engaged.
Control Depth and Protect the Exit Side
For a blind hole, mark the target depth on the bit with a removable visual reference that will not interfere with the holder. For a through-hole, reduce pressure as the tip approaches the far side. Supporting the exit area can help reduce chipping, but the right backing and technique depend on the material.
Common Beginner Mistakes to Avoid
- Starting with the final diameter: a smaller pilot hole may be easier to center.
- Turning too aggressively: speed is not the advantage of a manual drill; control is.
- Pushing sideways: fine bits are intended to cut along their axis.
- Skipping scrap tests: resin, wood, plastic, and other craft materials can respond differently.
- Ignoring debris: withdrawing the bit periodically keeps the path visible and reduces clogging.
After the Hole Is Complete
Withdraw the bit along the same axis, brush debris away, and inspect the opening before enlarging it. If the hole needs to grow, move through sizes gradually rather than jumping straight to a much larger bit. Clean and dry the bits before storage, and replace any bit that is visibly bent or damaged.
A compact pin vise hand drill is most useful when the project rewards patience. Careful marking, straight alignment, and light manual pressure matter more than rushing the cut.