
Pressure Roller Guide: A Controlled Workflow for Adhesive Edges
September 1, 2026
Focused hand pressure can help an adhesive-backed material meet its surface along a seam or edge, but more force is not automatically better. A compact pressure roller gives the user a narrow contact area that can be guided deliberately after the material is positioned.
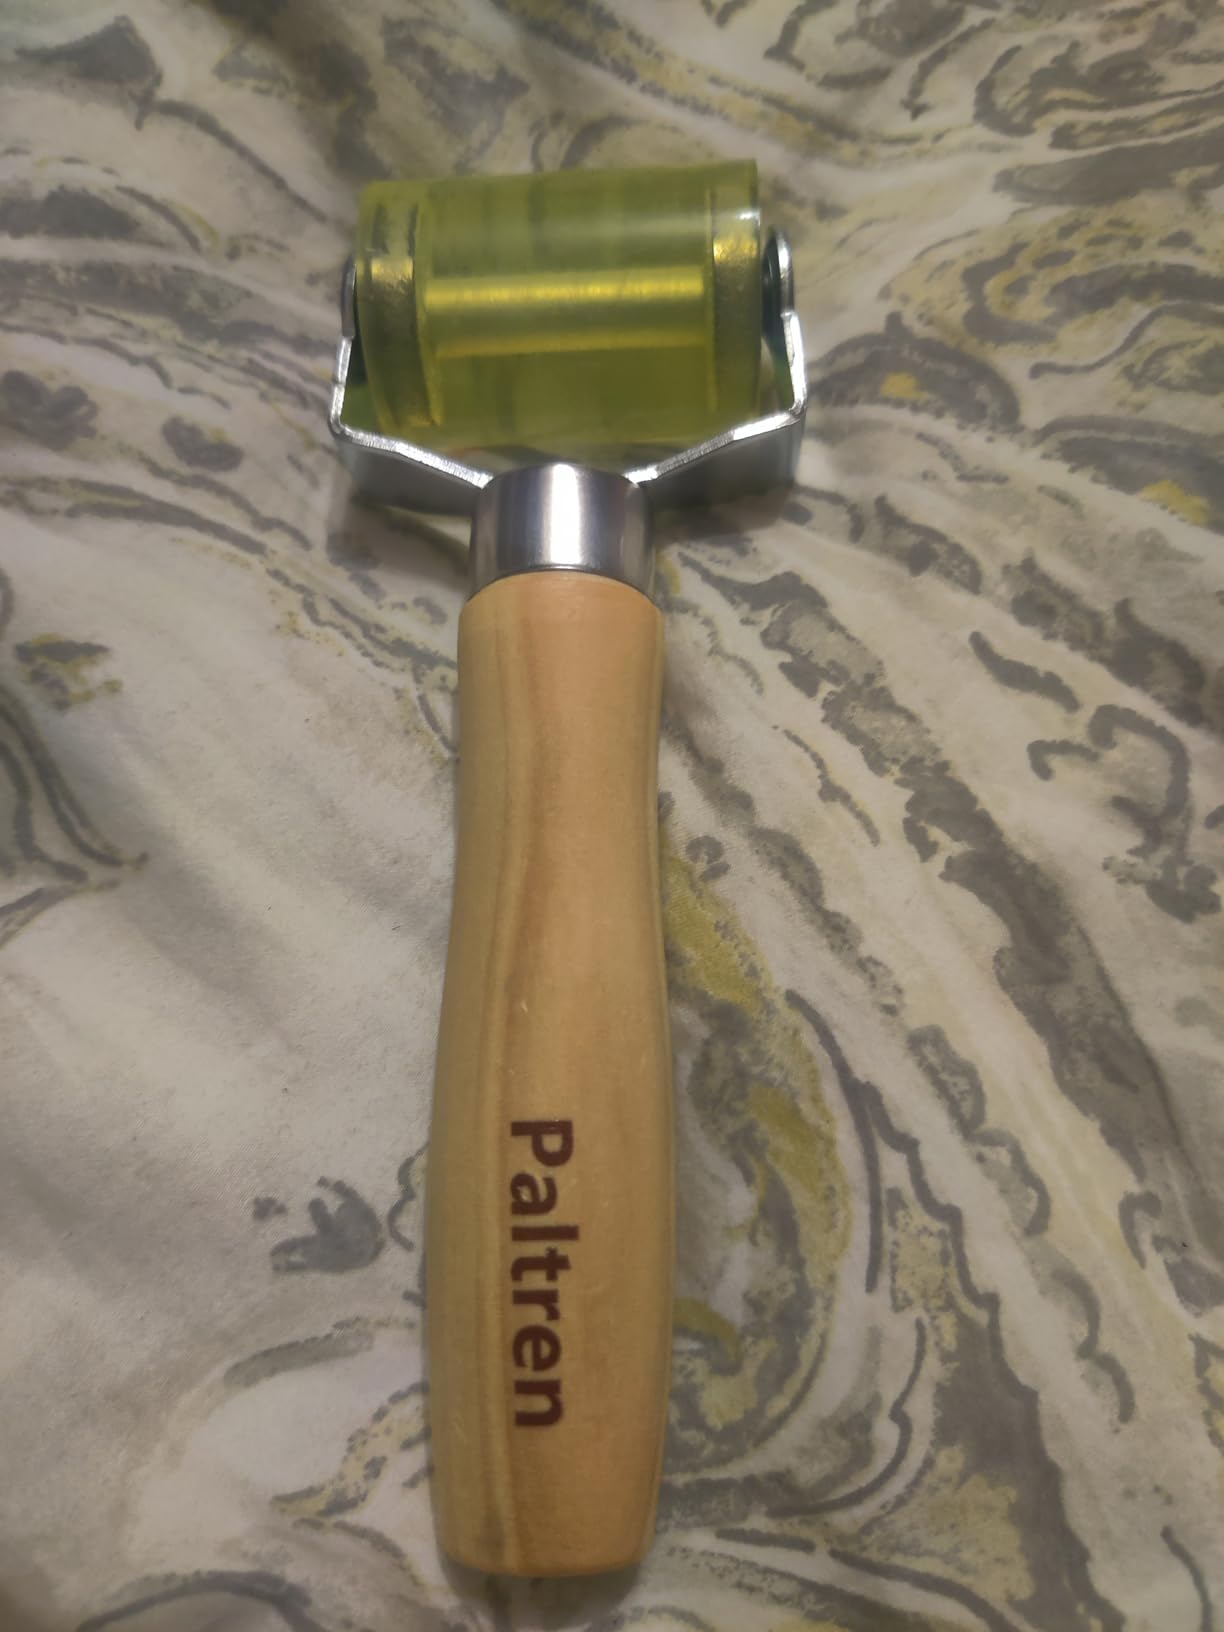
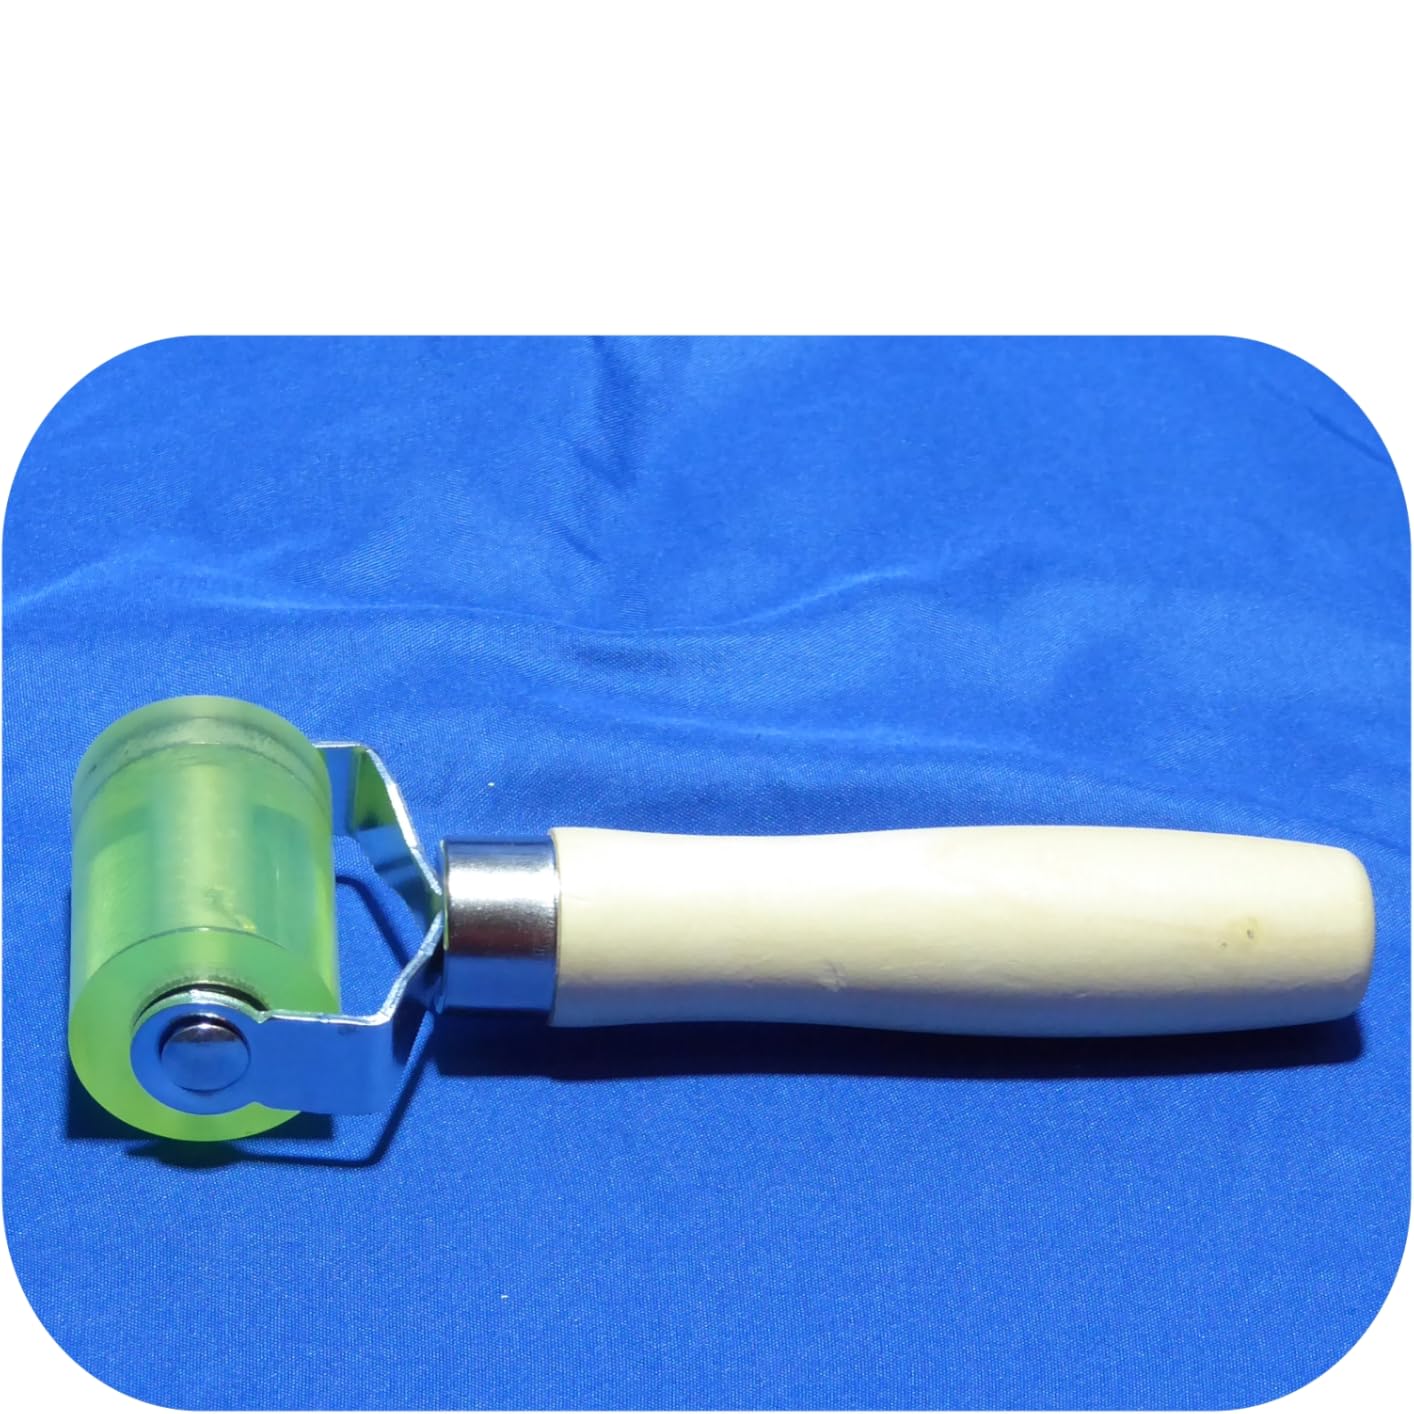
The Paltren Seam Roller uses a polyurethane wheel, dual internal ball bearings, a flush-end design, a steel bracket, and a solid wood handle. It is intended for focused rolling on compatible wallpaper, vinyl, contact paper, sound-deadening mat, flooring, and craft applications. Always follow the material and adhesive manufacturer’s instructions, since some finishes can mark, stretch, or release adhesive under pressure.
Confirm the Surface and Adhesive Instructions First
Check that the substrate is clean, dry, stable, and compatible with the adhesive. Then read the installation instructions for rolling time, pressure, temperature, and cure conditions. A roller cannot correct contamination, a misplaced panel, or an adhesive that is unsuitable for the surface.
- Test on an offcut or hidden area when the visible finish may mark.
- Align the material before applying focused pressure.
- Keep the roller wheel clean so debris is not pressed into the finish.
- Use only the pressure recommended for the material.
Start in an Open Area With Light Passes
Begin where the roller can travel in a straight, visible path. Use light, overlapping passes and watch the material rather than repeatedly working one spot. The dual ball bearings support smooth wheel movement, while the compact format keeps the contact line easy to place.
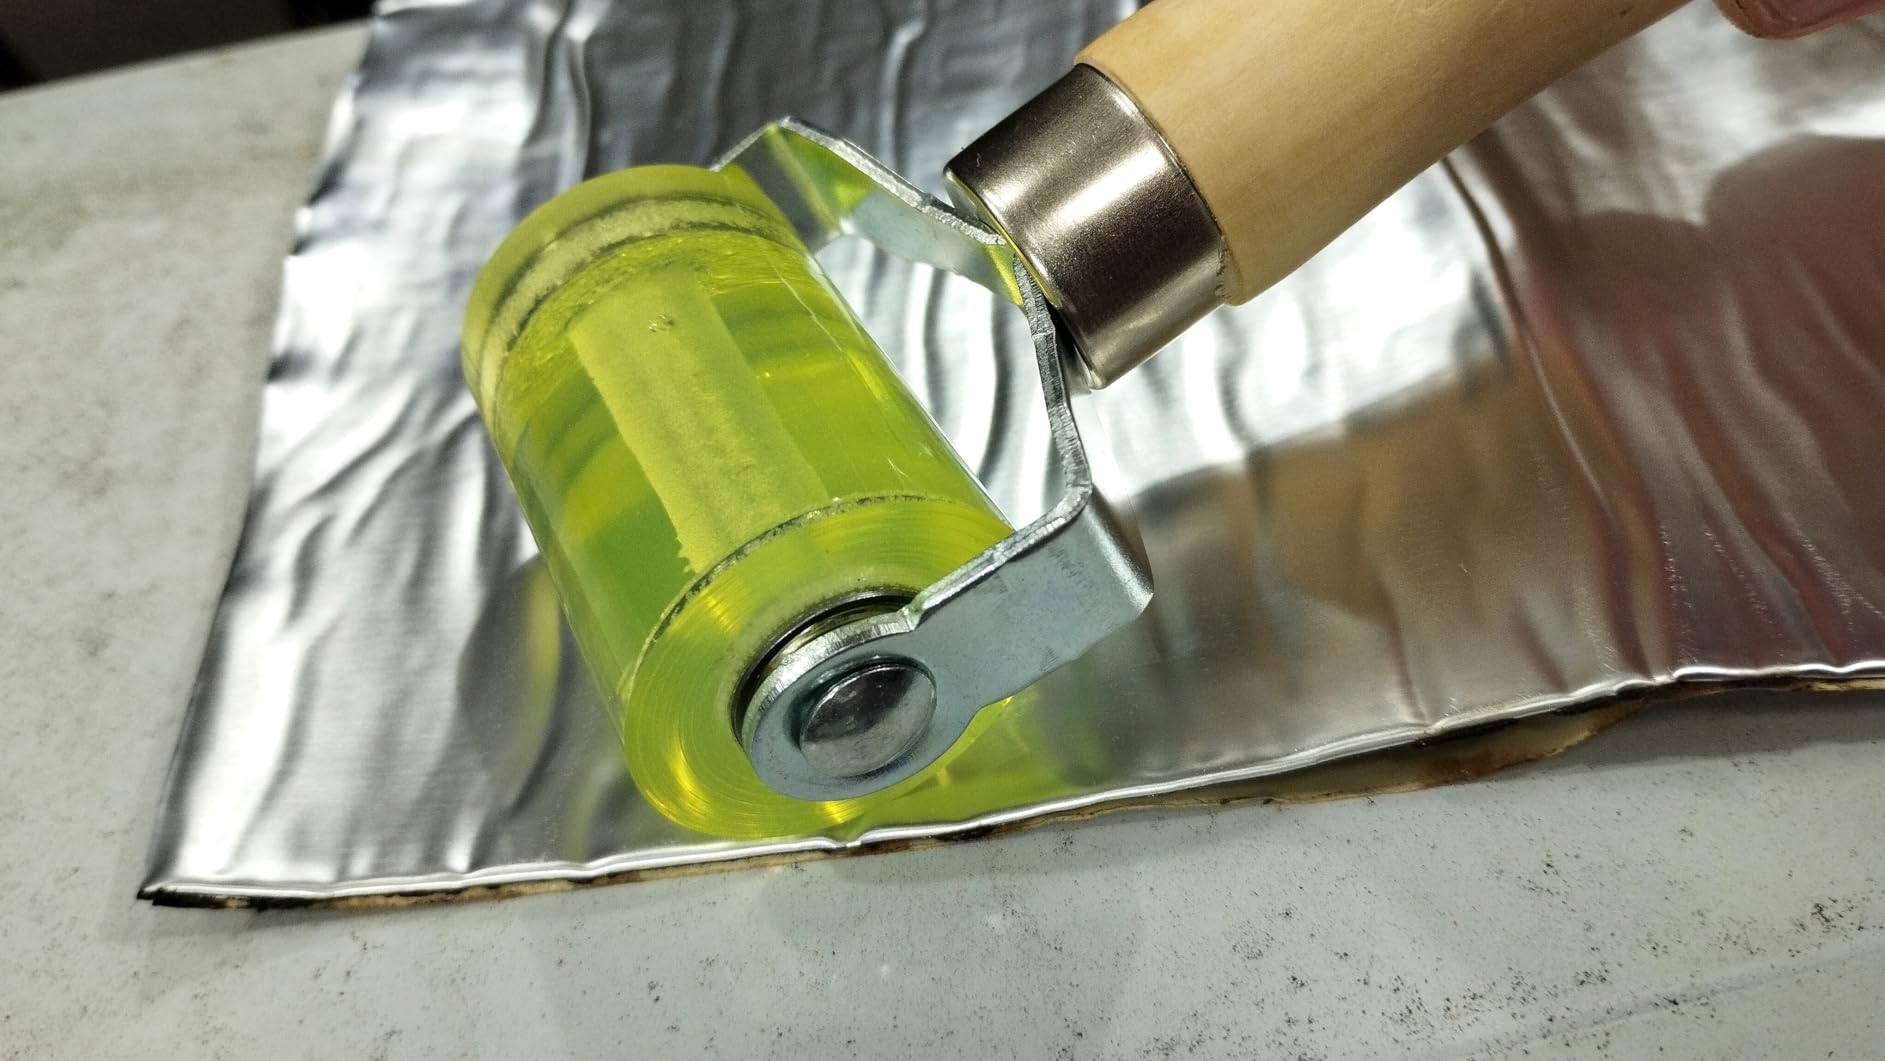
If a bubble or ridge moves, guide it toward an open edge instead of trapping it between already-pressed sections. Stop if the surface changes sheen, stretches, creases, or shows adhesive squeeze-out.
Work Toward Seams, Corners, and Flush Edges
Once the broad area is positioned, move toward the seam or edge in short, controlled passes. The roller’s flush-end construction is designed to approach a corner without a protruding axle nut blocking the wheel. Keep the steel bracket clear of the finished surface and avoid tilting the wheel onto one edge.
A wider roller may be more efficient on an open panel, while a compact seam roller offers more focused placement. The J roller vs seam roller guide explains that scale difference in more detail.
Adjust the Workflow for the Material
Wallpaper, pressure-sensitive vinyl, sound-deadening mat, and flooring products do not share one universal rolling method. Wallpaper may have a delicate printed face; vinyl can stretch; automotive mat must follow its own installation guidance; and flooring products may specify a particular roller size or weight. Treat the Paltren tool as a compact hand roller, not as a substitute for equipment required by the product manufacturer.
Clean and Inspect After the Final Pass
Inspect the seam from several angles without continuing to roll a spot that is already seated. Remove residue from the polyurethane wheel using a method compatible with the roller and adhesive, then dry the tool before storage. Check the wheel and bracket before the next project so dried adhesive or grit does not transfer to a new surface.
The controlled sequence is straightforward: verify compatibility, align first, begin with light passes, work toward edges, and stop when the material or its instructions indicate that enough pressure has been applied.