
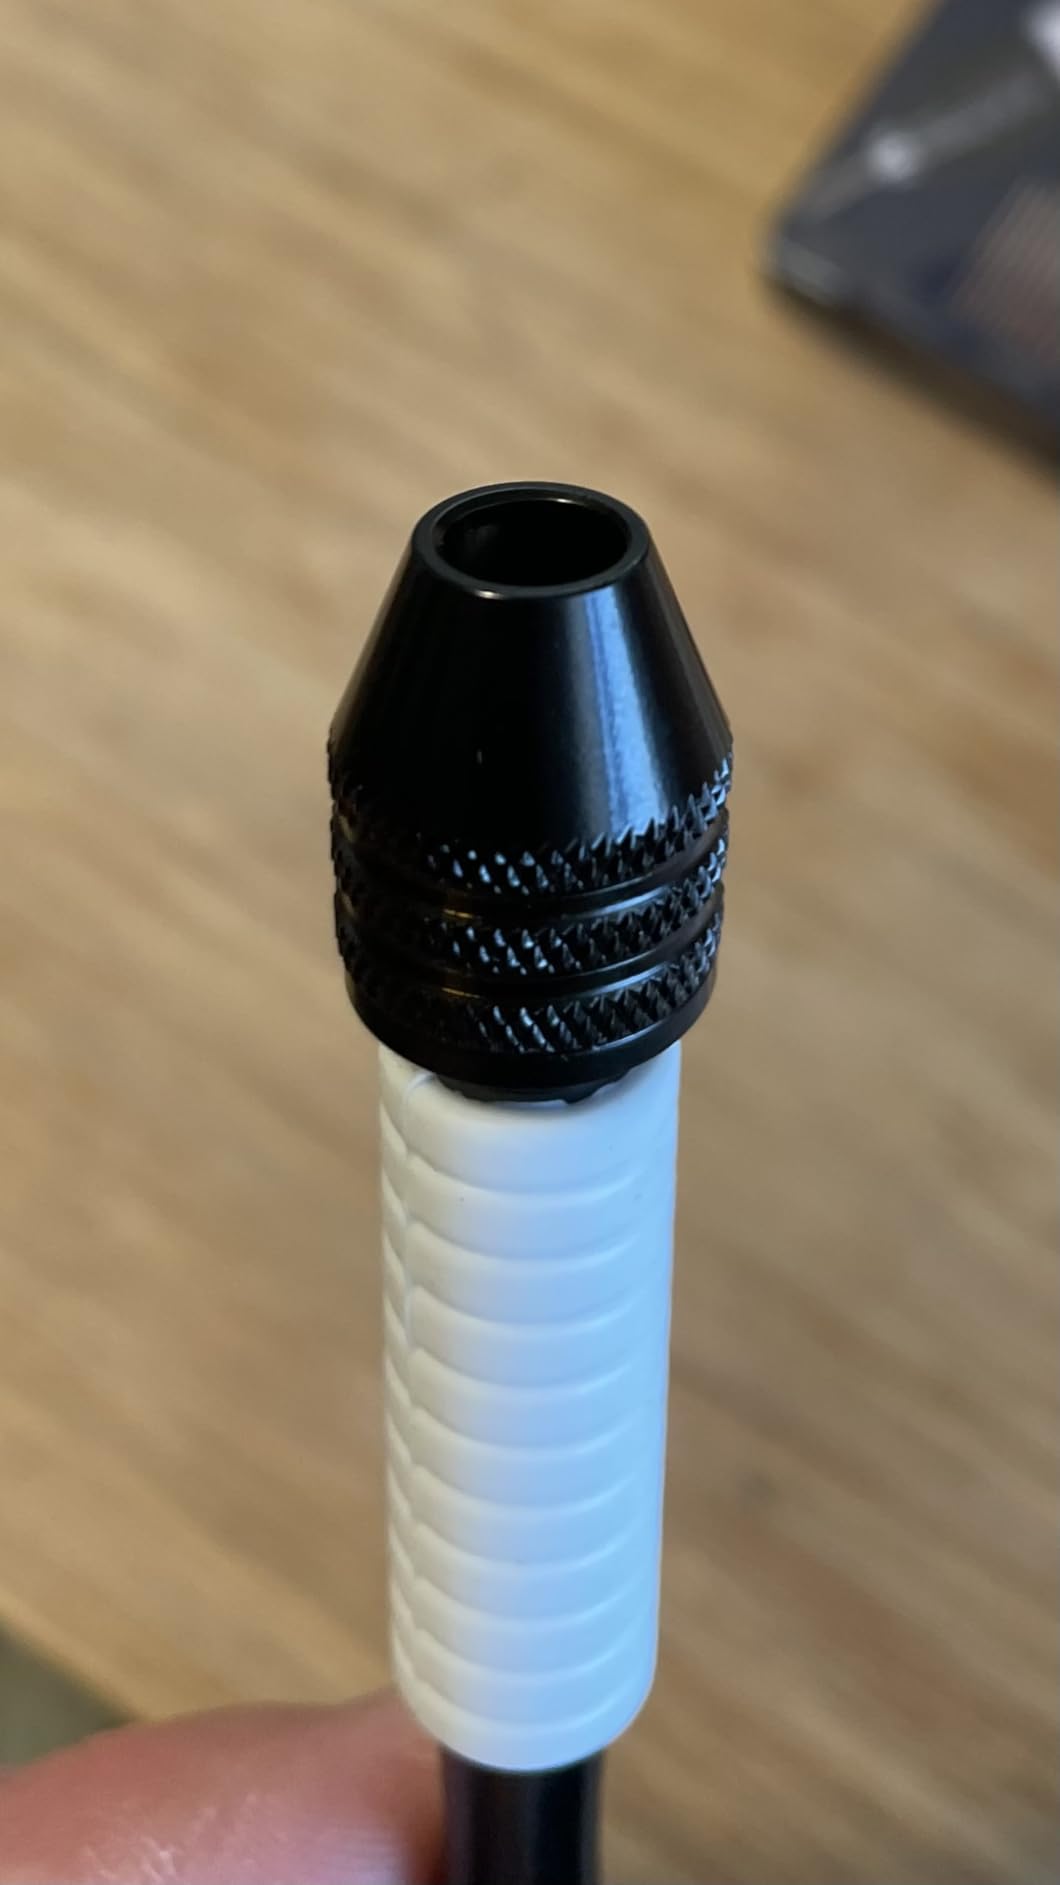
Small Drill Bits: How to Choose a Size for Delicate Projects
August 29, 2026
Choosing a tiny bit is not only about finding the final diameter. The workpiece thickness, hole location, material, and the way the part is supported all affect how safely a hole can be started. A set of small drill bits paired with a manual pin vise lets you slow the process down and control each turn.
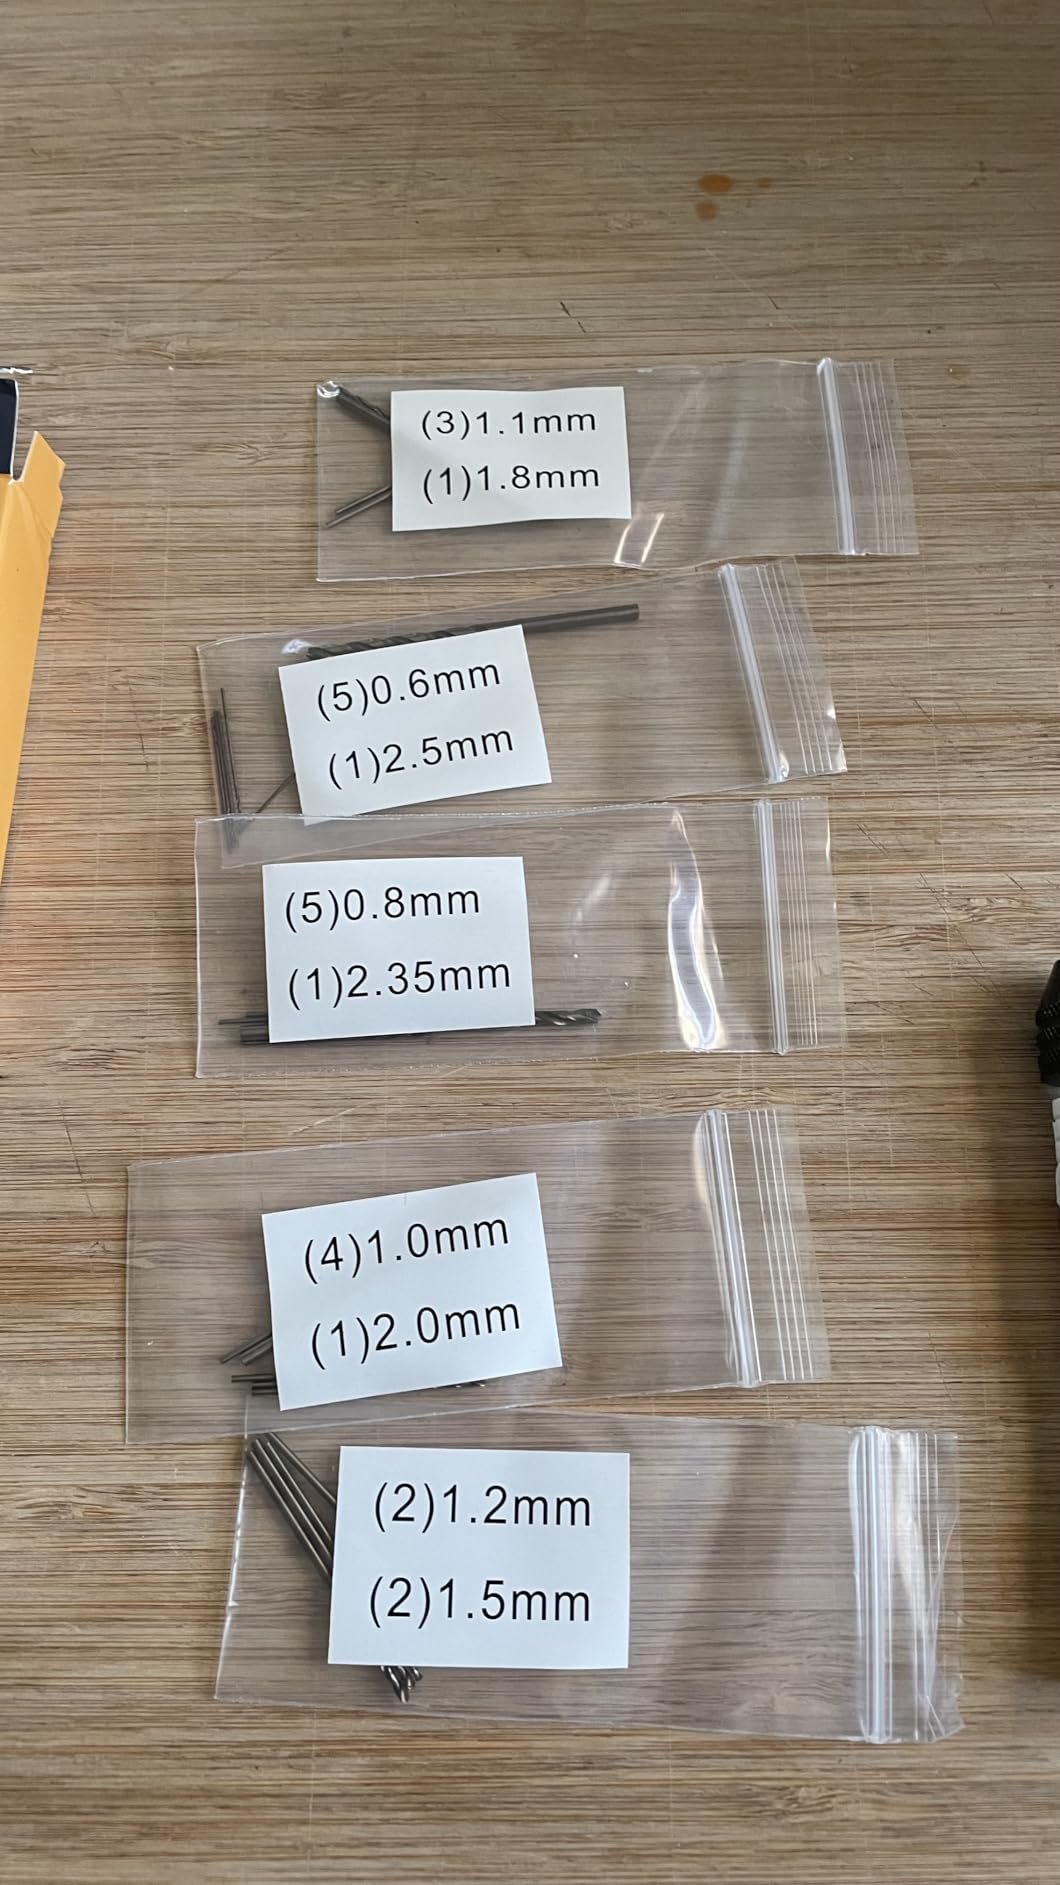
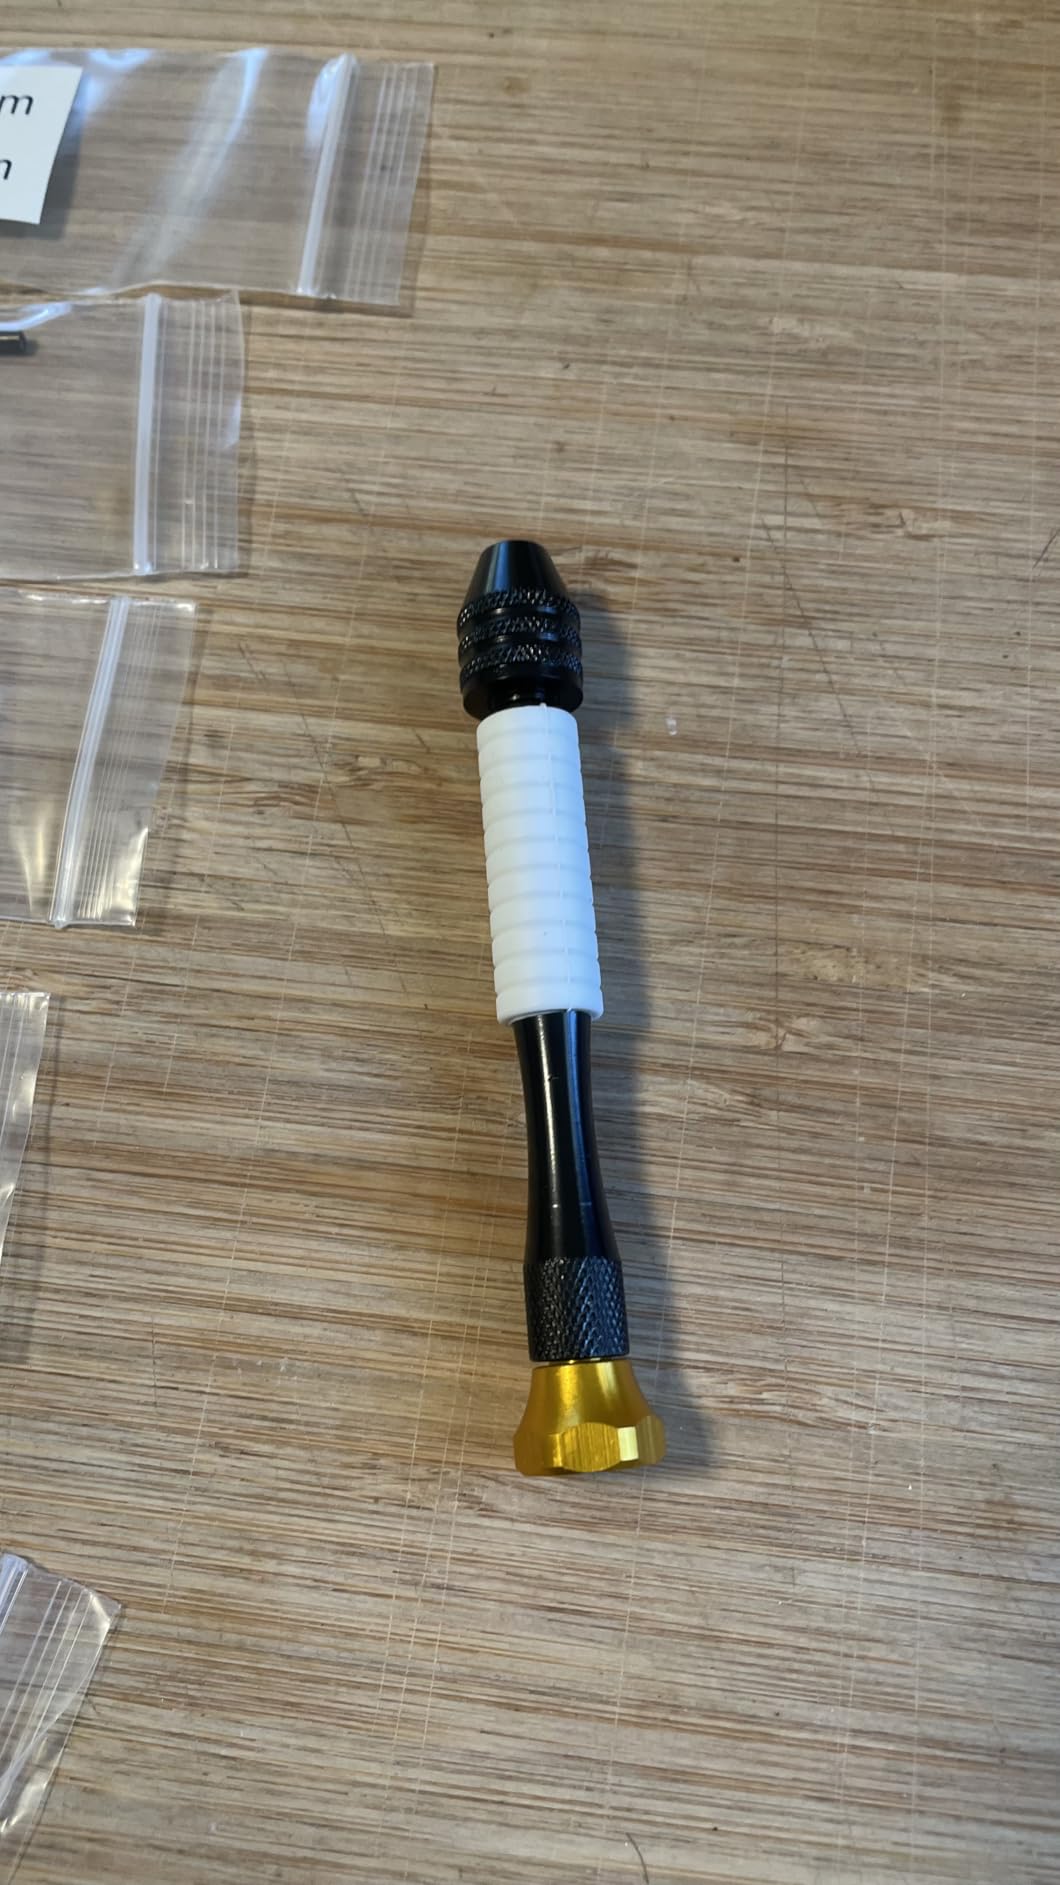
The Paltren Pin Vise Hand Drill Set includes 25 micro drill bits covering 0.6 mm through 2.5 mm. This guide explains a conservative selection process for resin pieces, miniatures, jewelry components, wood, plastic, and other delicate craft work. Material behavior varies, so use scrap from the same material whenever possible.
Start With the Hole, Material, and Exit Point
Mark the center and inspect both sides of the workpiece before installing a bit. Confirm that the planned hole will not break through an edge, hidden cavity, or thin decorative feature. If the part is brittle, painted, or finished, a hidden-area test can reveal whether the surface chips or marks.
- Support the piece on a stable surface that can safely receive the bit.
- Keep fingers outside the drilling path and wear suitable eye protection.
- Check the required finished diameter instead of choosing by appearance alone.
- Use a center mark that is appropriate for the material.
Use a Pilot Hole Before Moving to the Final Size
A smaller starting hole can help establish alignment before the opening is widened. Insert the selected bit straight in the pin vise, tighten it securely, and expose only as much bit length as the job requires. Extra unsupported length makes a micro bit easier to bend with sideways force.
Turn the tool with light, controlled pressure. Let the cutting edges advance rather than forcing the bit. Withdraw periodically to clear debris, especially in a deeper hole. If the bit stalls, stop and check alignment instead of increasing sideways pressure.
Step Up Through Small Drill Bits Gradually
When a larger opening is needed, move from the pilot hole toward the target size in controlled steps. The set’s 0.6–2.5 mm range provides multiple choices, but the correct sequence depends on the workpiece. Very thin or brittle material may not tolerate the same progression as wood or a thicker plastic part.
Check fit between steps when the hole is intended for wire, a pin, or another component. Stopping as soon as the part fits helps avoid removing more material than necessary. For a broader beginner setup, see the hand drill for crafts guide.
Match the Technique to the Project
Resin miniatures and jewelry components often benefit from a clearly marked pilot hole and steady support. Small wood pieces may need debris cleared more often. Plastic can soften or distort if friction builds, so a slow pace and frequent inspection are useful. Do not use these general steps in place of the material maker’s instructions.
Inspect the Hole and Store the Bits Carefully
After drilling, remove loose debris and inspect the entry and exit before inserting hardware or wire. Return each small bit to organized storage so its size remains identifiable and its cutting edge is protected. A manual pin vise should also be left clean and dry before the next project.
The useful habit is simple: identify the target size, establish alignment with a controlled pilot hole, widen only when needed, and stop to inspect throughout the process.