
3D Printer Starter Kit: A Practical Finishing Bench Checklist
August 24, 2026
A first printer is only part of a useful workspace. Supports still need removal, rough edges need inspection, and failed or damaged prints sometimes need careful repair. A focused 3D printer starter kit for post-processing keeps those jobs together without pretending that one heated tool is right for every filament or every finish.
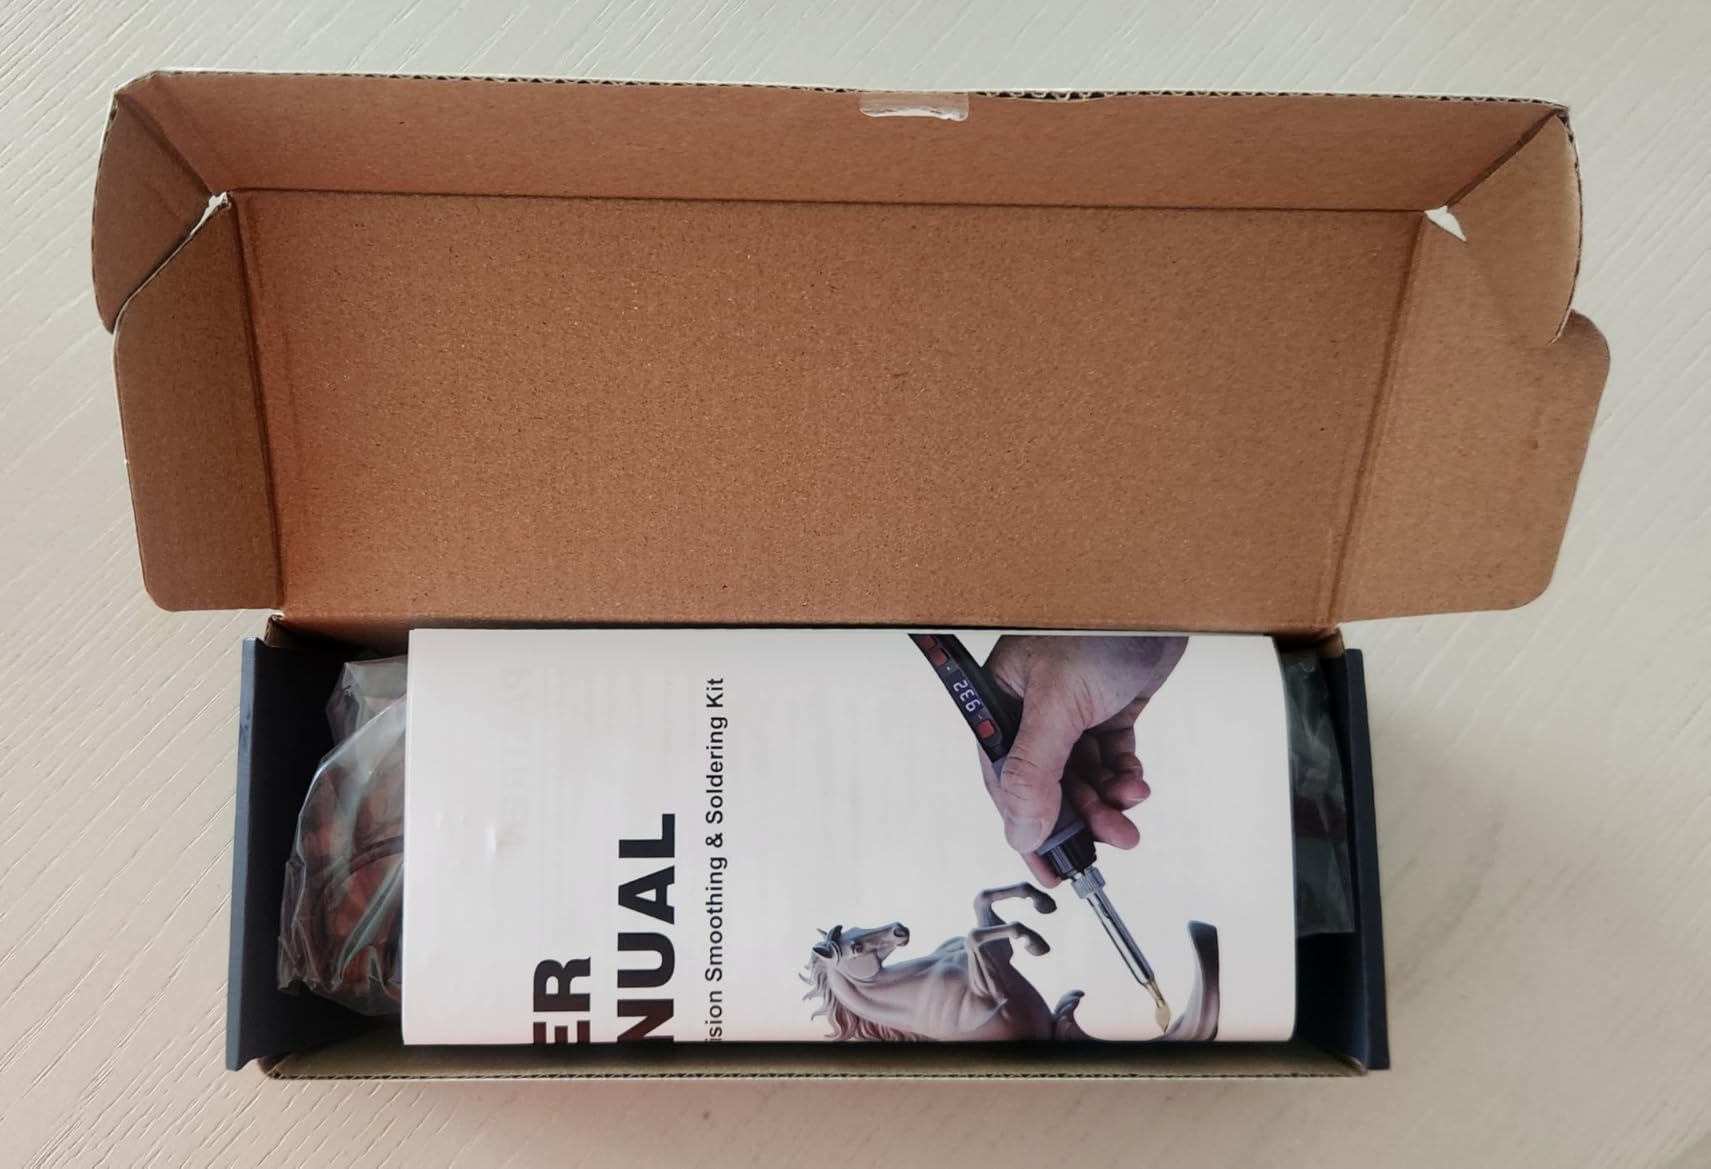
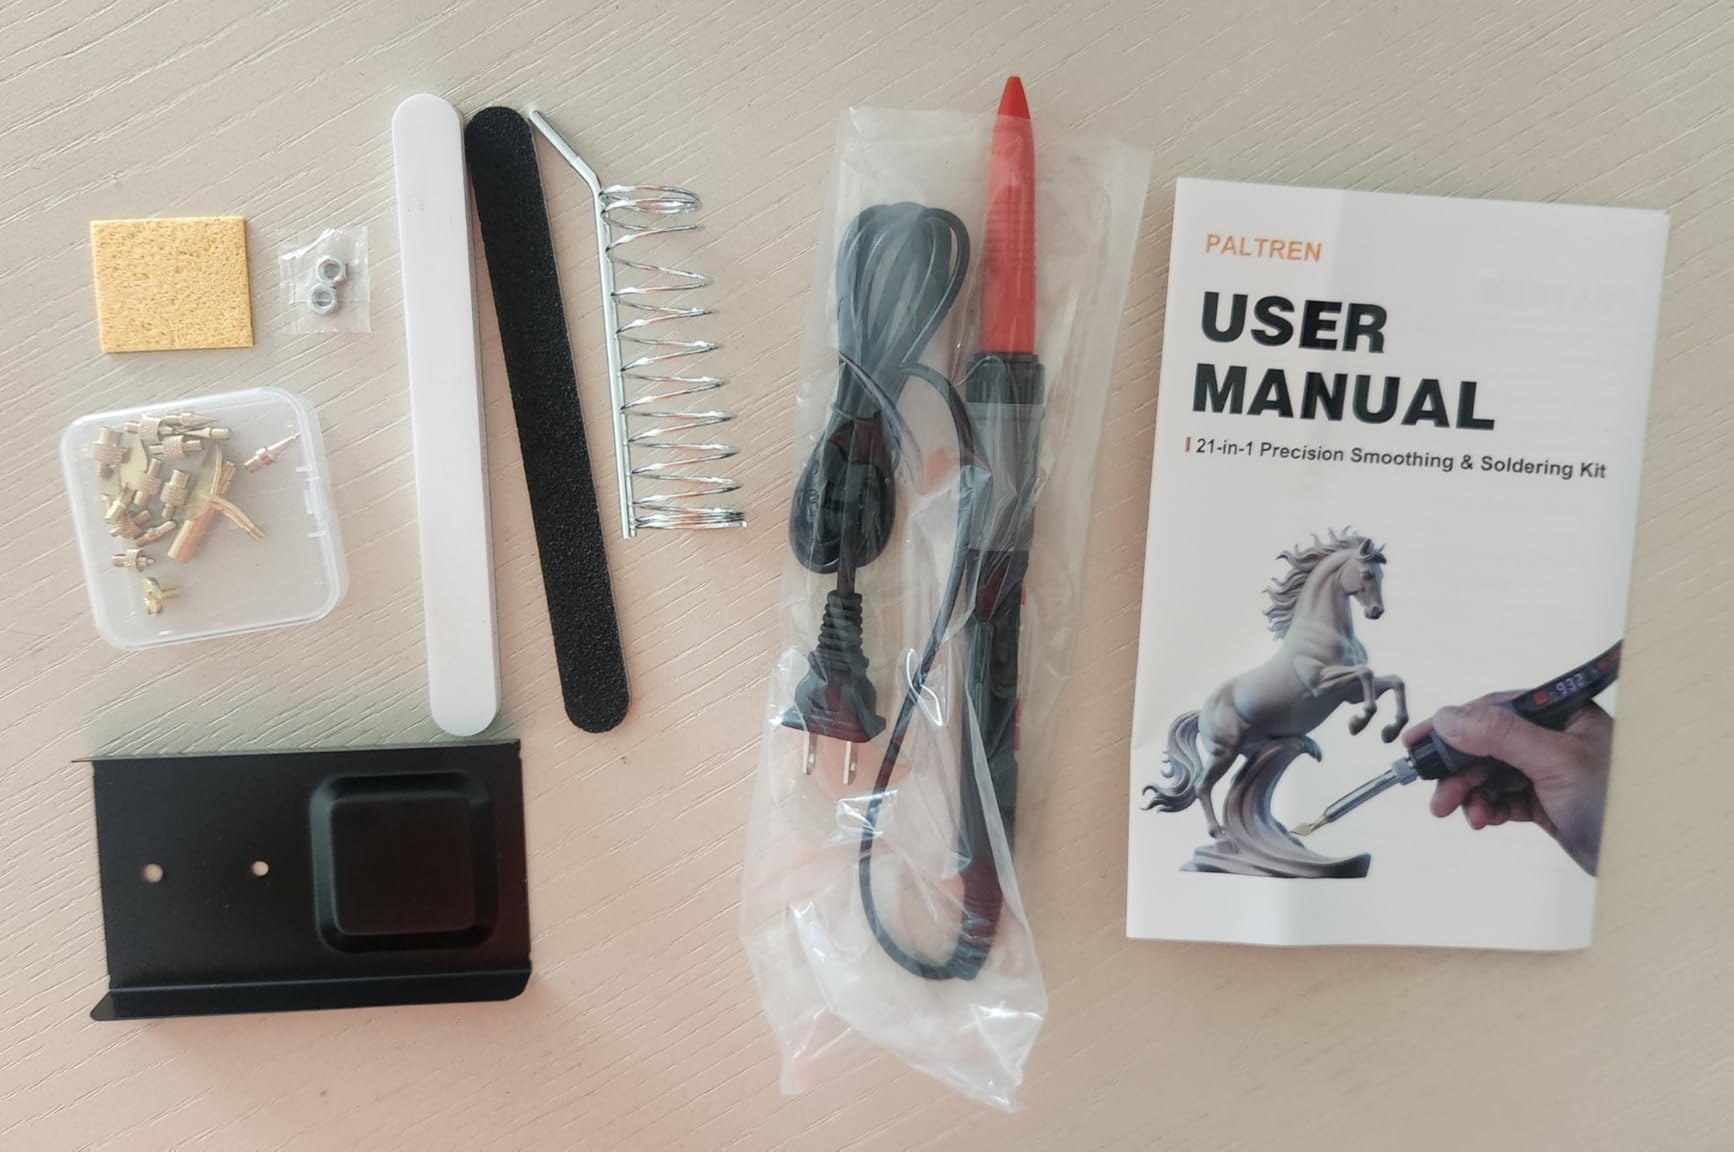
The Paltren 21-in-1 kit centers on an 80W LED digital heated tool and a group of finishing accessories. This checklist explains how to organize that kit as a small finishing bench. Always follow the printer, filament, and tool instructions, provide suitable ventilation, and test heat on scrap before touching a finished part.
Start With a Safe Finishing Zone
Give heated work its own stable, heat-resistant area away from loose filament, paper, solvents, and finished surfaces. Keep the power cord out of the cutting and support-removal path. Good lighting matters because a small burr, thin wall, or hidden support contact can change where a tool should touch.
- Use eye protection when clipping or scraping support material.
- Place a heat-resistant rest where the hot tool cannot roll.
- Keep a scrap print made from the same material for technique checks.
- Let parts and tips cool fully before changing or storing them.
Sort 3D Printing Tools by Job
Organize the bench around a sequence rather than placing every accessory in one pile. Begin with non-heated inspection and support cleanup. Reserve smoothing and repair for a later stage, after the part has been checked for thin walls, moving joints, and dimensional surfaces that must remain unchanged.
Use Mechanical Cleanup Before Heat
Remove only clearly identified support material, then inspect the contact points. Mechanical cleanup gives direct visual feedback and avoids introducing heat before it is needed. Work in small steps and support the part so pressure is not transferred into a delicate feature.
A 3D print tool kit can support several stages, but accessory shape does not determine the correct technique by itself. Choose the least aggressive suitable method and stop when the printed geometry is clean enough for its intended use.
Reserve the Heated Tool for Suitable Tasks
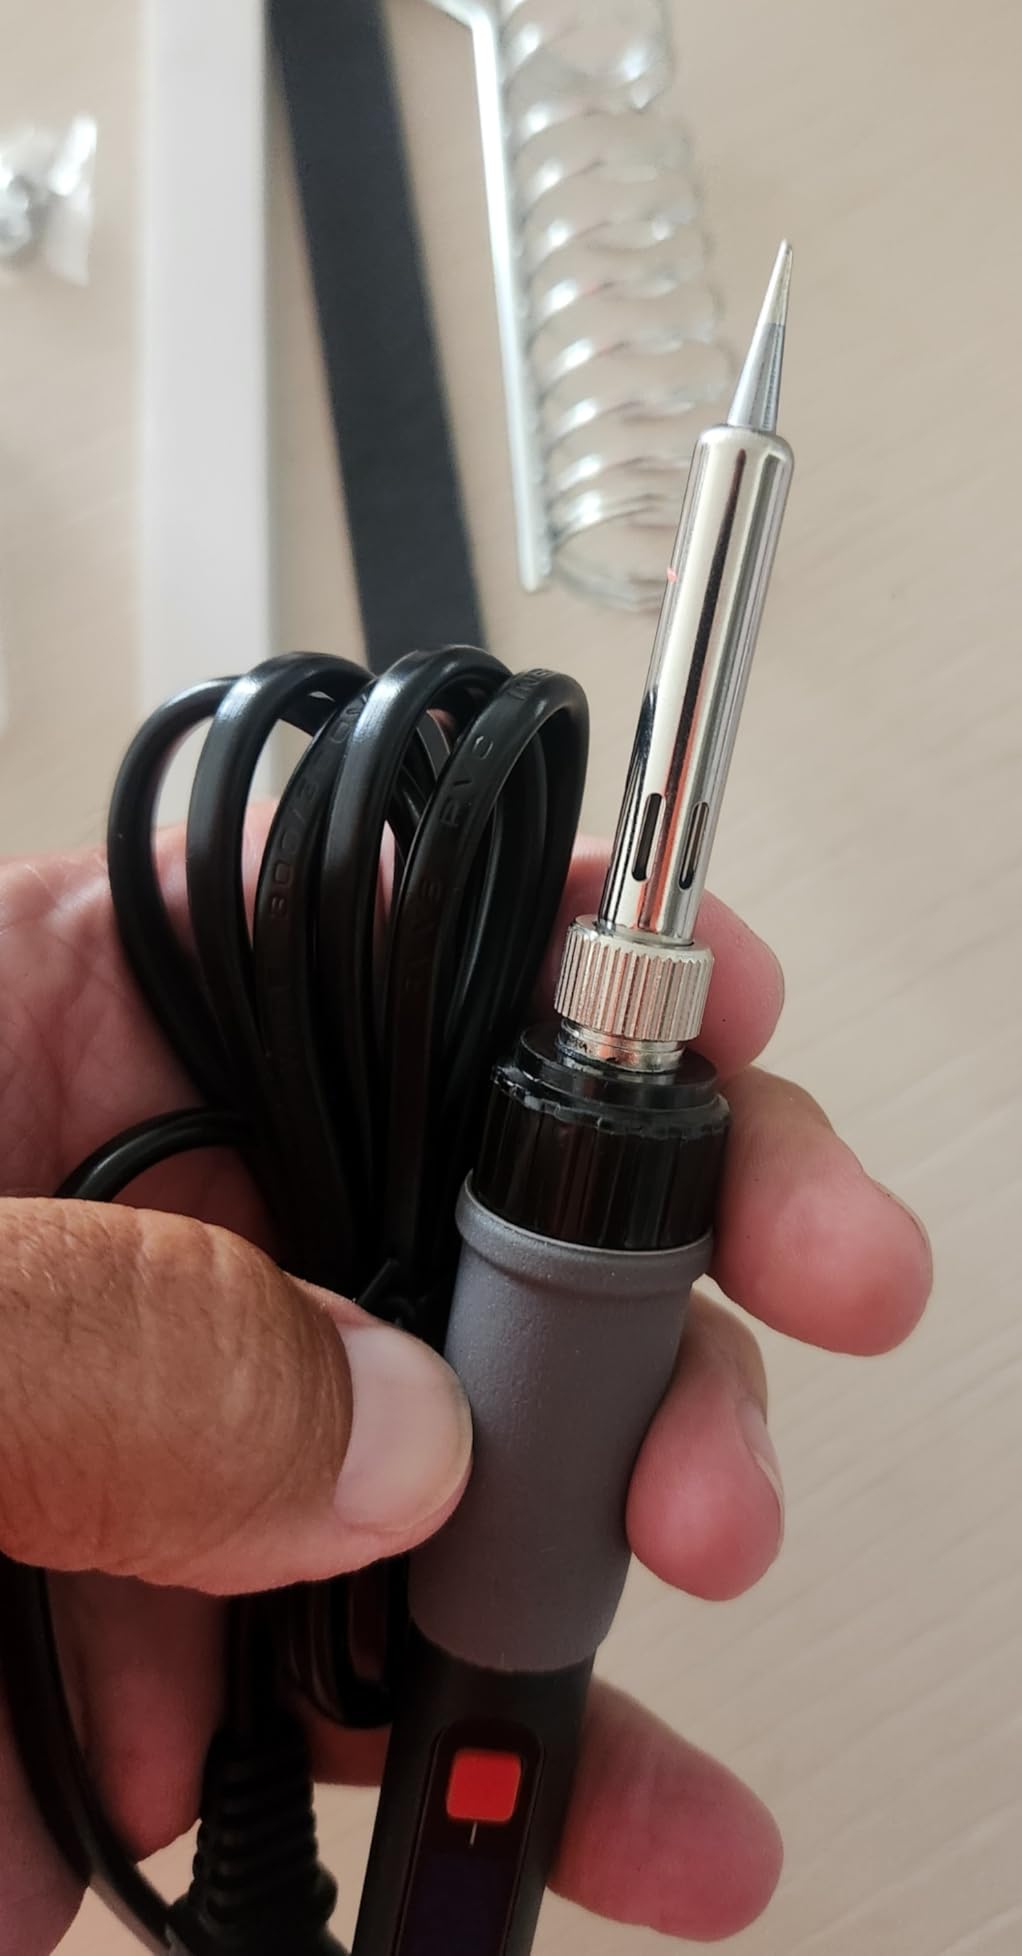
The digital heated tool may be useful for controlled smoothing or compatible plastic repair, but temperature requirements vary by material and geometry. Start with the filament maker’s guidance and a scrap test. Use brief contact, inspect the change, and allow the area to cool before deciding whether another pass is appropriate.
Do not use heat to hide a structural failure without identifying why the print failed. A cosmetic seam and a load-bearing break are different problems, and some parts should be reprinted rather than repaired.
Keep Measurement Surfaces Out of the Finishing Path
Holes, threads, snap fits, bearing seats, and mating faces depend on dimension. Mark those areas before smoothing so an accessory does not round an edge or change a fit. When a functional surface needs cleanup, use the smallest controlled correction and check the mating part frequently.
Starter-Kit Mistakes to Avoid
- Using heat first: inspect and try suitable non-heated cleanup before changing the surface.
- Guessing a temperature: verify material guidance and test on matching scrap.
- Finishing every surface: preserve dimensions on fits, holes, threads, and joints.
- Working on an unsupported part: stabilize the print without loading a fragile feature.
- Storing accessories while hot or dirty: cool, inspect, and clean them using the tool instructions.
A Repeatable End-of-Print Routine
Let the print cool, remove it according to the printer and build-surface guidance, inspect support contacts, and complete conservative mechanical cleanup. Only then decide whether smoothing or repair is appropriate. Finish by checking fit and function, cleaning the work area, and returning cooled accessories to their places.
For a compact post-processing bench, the Paltren 21-in-1 3D printing tools kit groups a digital heated tool and finishing accessories into one set. The useful habit is not applying every tool to every print; it is choosing the minimum suitable step for the material and goal.