
3D Printing Tools for Support Removal: A Controlled Cleanup Sequence
August 16, 2026
Removing supports is one of the easiest stages to rush and one of the hardest to undo. A controlled set of 3D printing tools helps divide the job into separate steps: stabilize the part, remove accessible support material, refine the remaining contact points, and inspect the surface before applying heat.
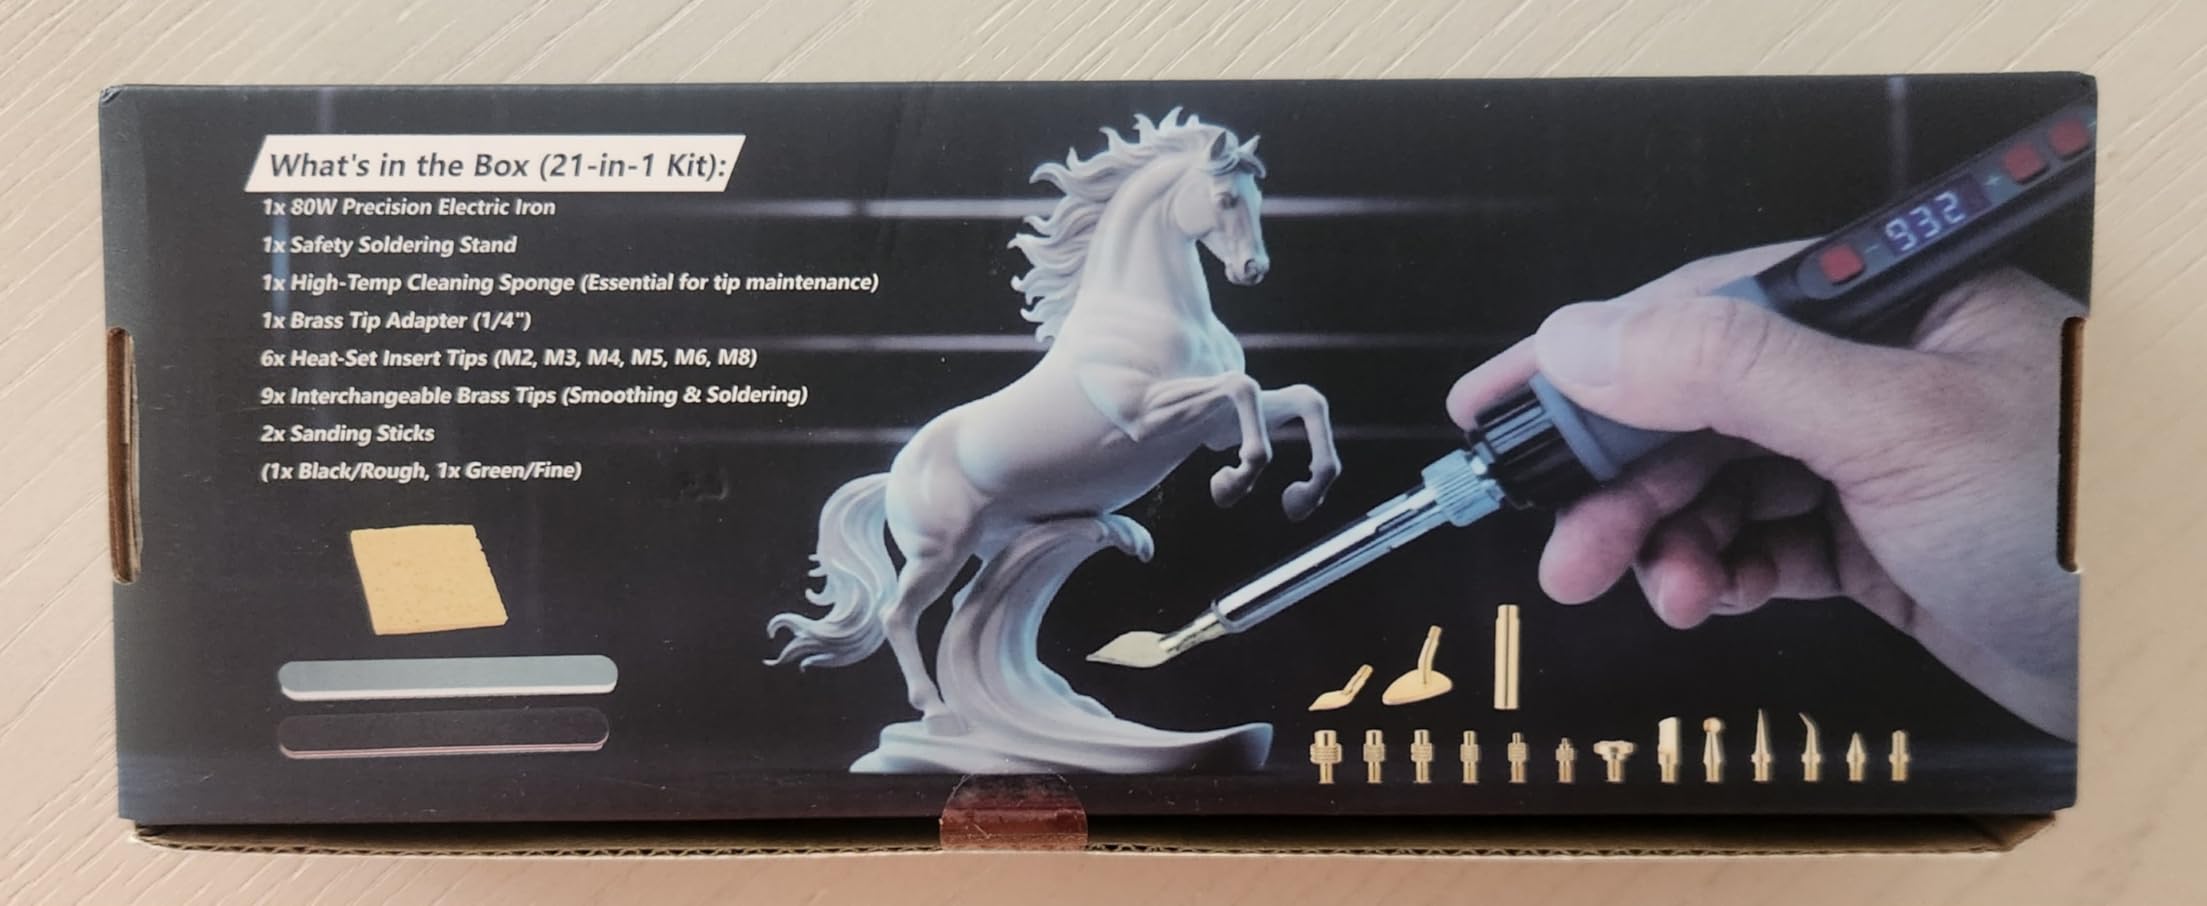
The Paltren 21-in-1 kit combines an 80W LED digital heated tool with finishing accessories for post-processing work. This guide focuses on sequence and restraint rather than promising that one temperature or attachment is suitable for every filament. Always follow the filament maker’s guidance, ventilate the workspace, wear suitable eye protection, and test any heated step on scrap first.
Why 3D Printing Tools Work Better as a Sequence
Support cleanup usually involves more than one problem. Large pieces need careful separation, small contact points need focused attention, and rough edges may need gradual refinement. Trying to solve all three with one aggressive pass can remove wanted material along with the support.
Separate the work into cold and heated stages. Begin with inspection and mechanical removal while the print is fully supported. Reserve the digital heated tool for compatible material and localized finishing only after loose fragments are gone.
Step 1: Inspect and Stabilize the Printed Part
Identify thin walls, bridges, pins, lettering, and other features that could flex while supports are removed. Rest the print on a stable surface and orient the force away from delicate geometry. If a support blocks the view of a fragile feature, uncover it gradually rather than twisting the entire structure at once.
- Confirm the printed material and its handling guidance.
- Use eye protection because clipped fragments can travel unexpectedly.
- Keep hands out of the path of cutting and heated accessories.
- Plan where each support piece can move after it separates.
Step 2: Remove Bulk Supports Before Refining Contact Points
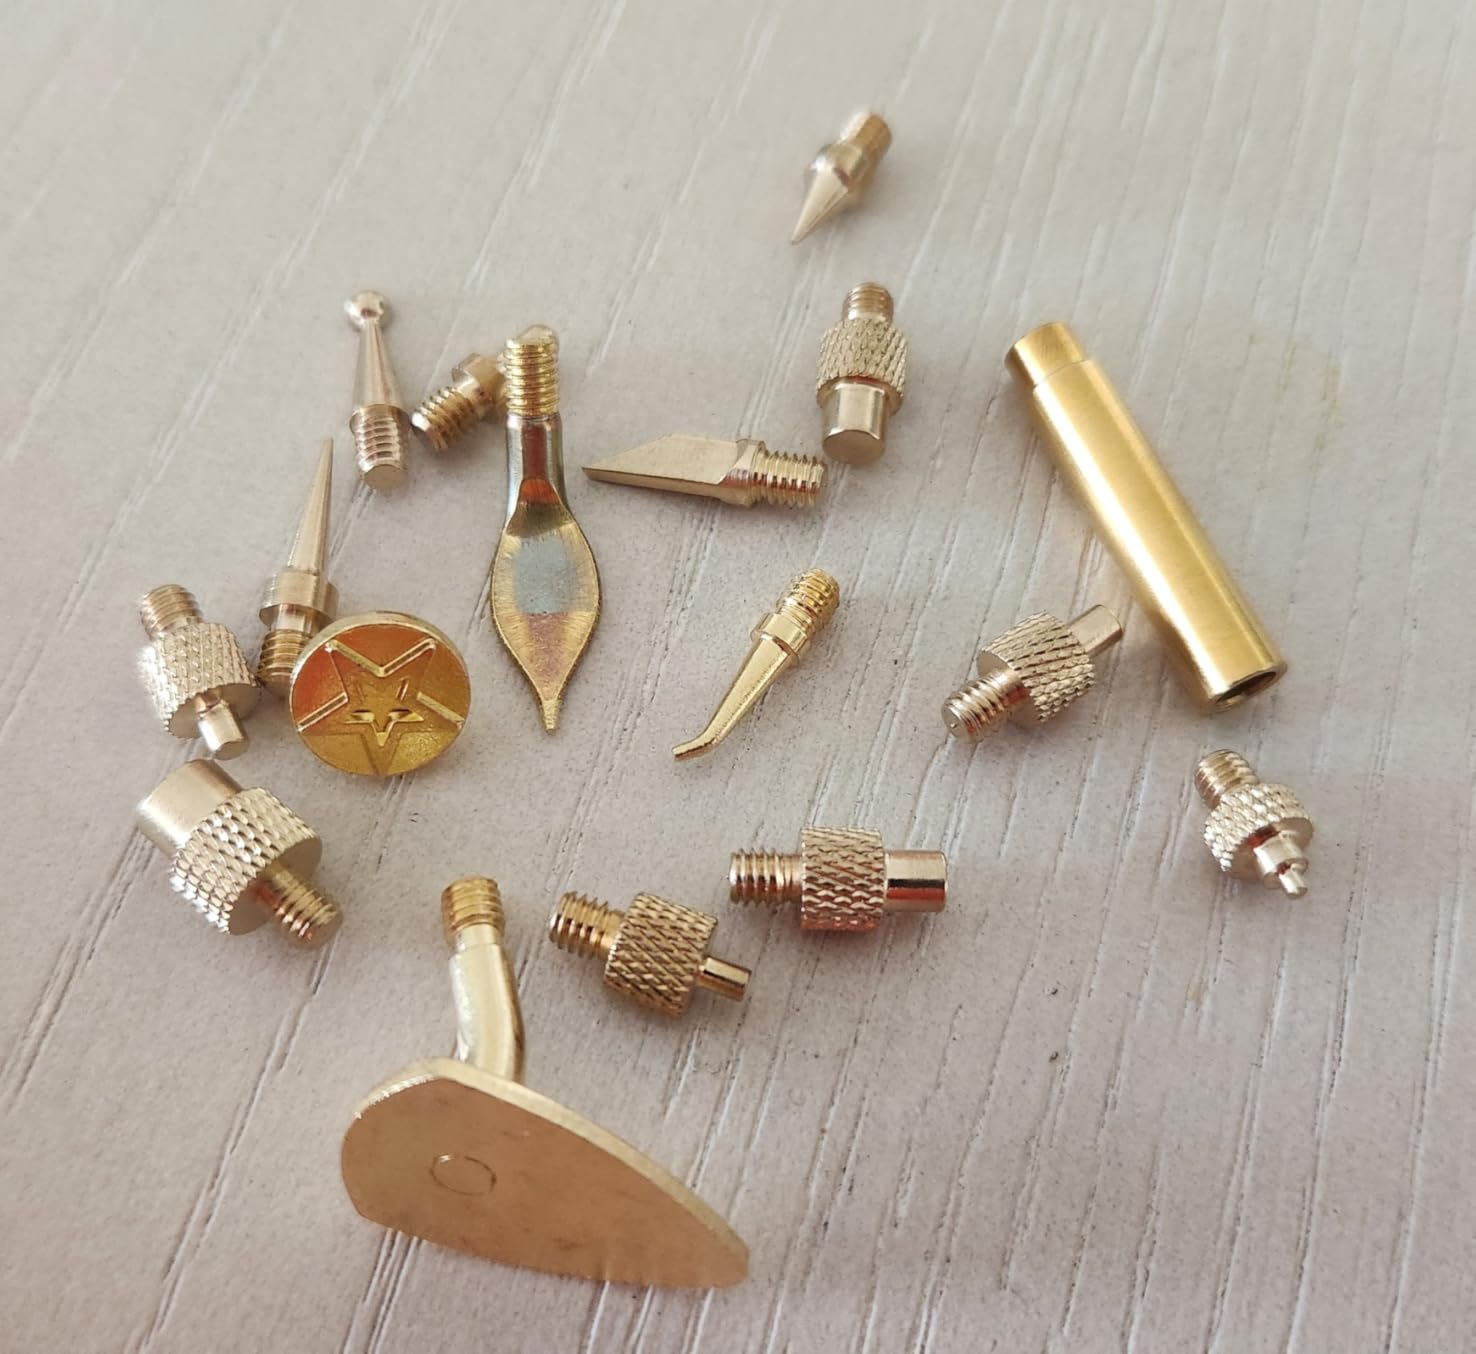
Start with sections that can be reached without levering against the model. Work from open areas toward crowded details so each removal improves visibility for the next step. Short, deliberate movements provide more control than bending a large support tree until it breaks.
After bulk material is removed, inspect the contact points under good lighting. A remaining nub may need a different accessory or approach than a rough seam. The goal is to reduce each defect gradually, stopping often to compare the surface with the intended geometry.
Step 3: Use the Digital Heated Tool Conservatively
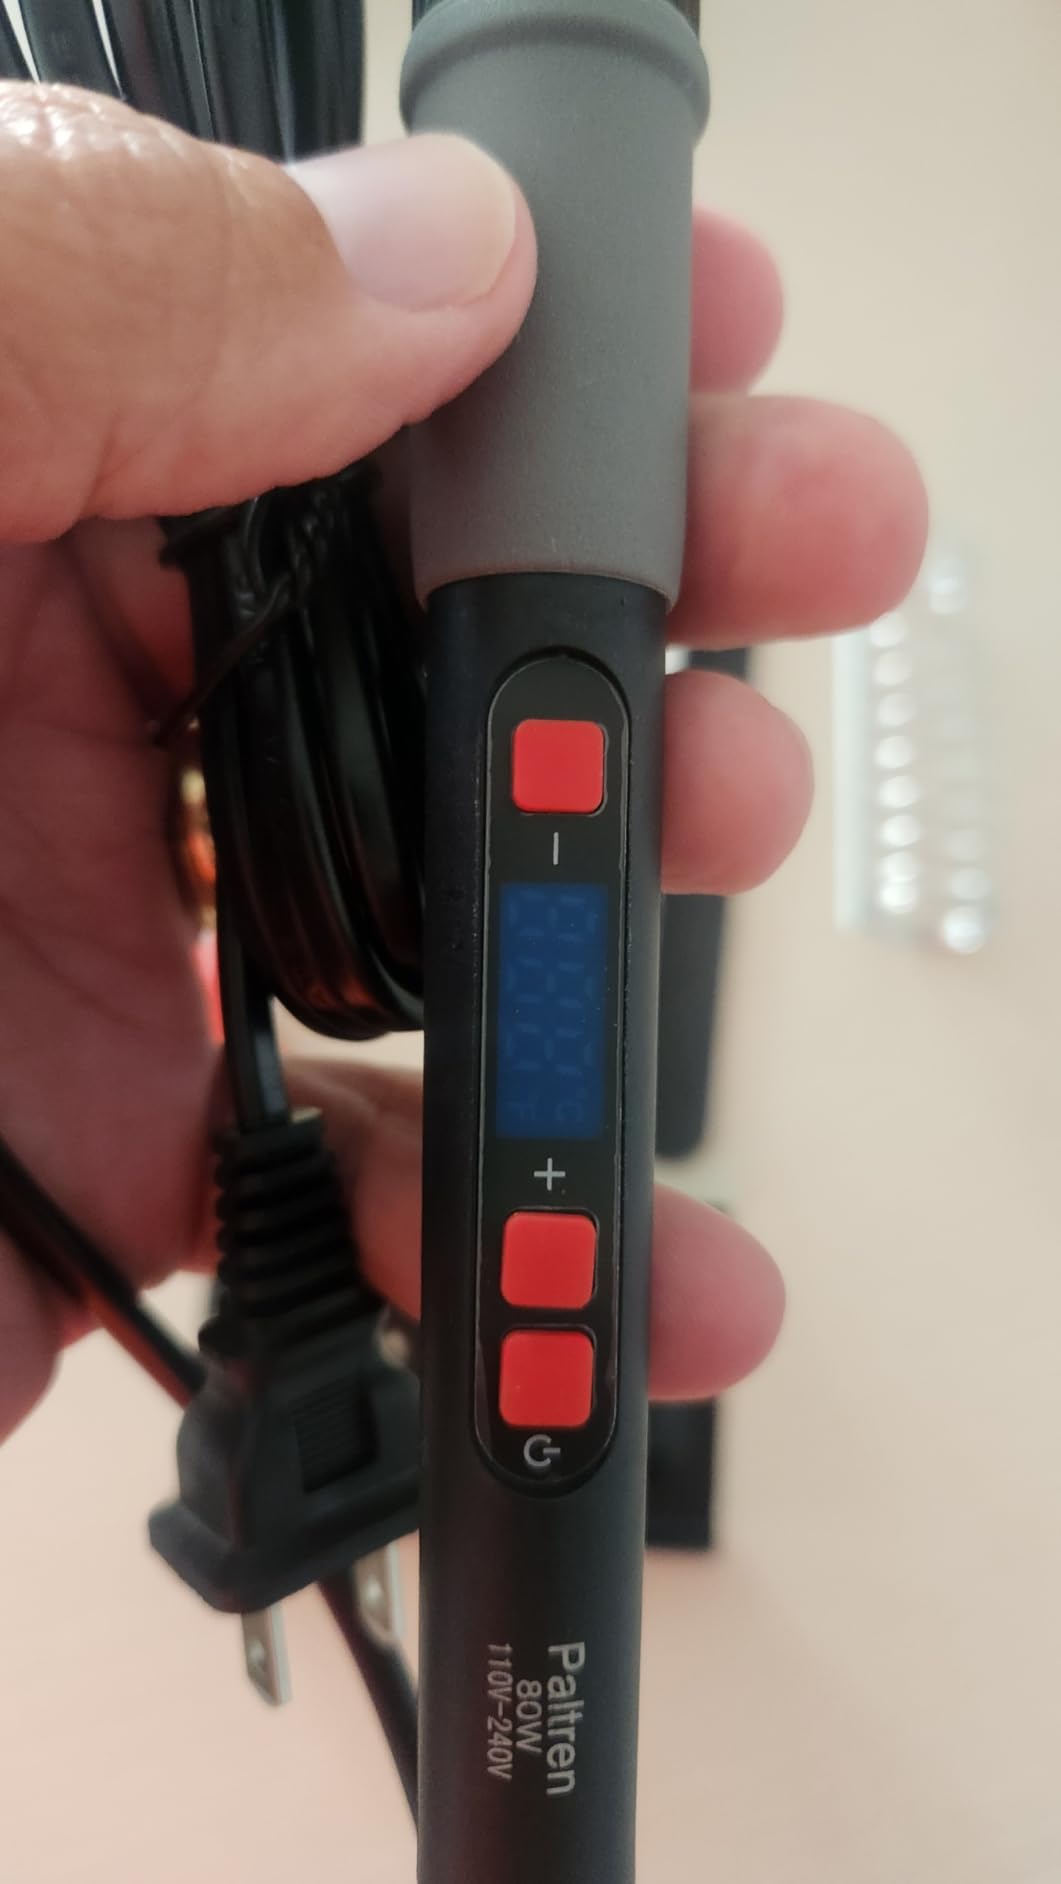
A digital 3D print finishing tool can help with compatible plastic cleanup, but heat can also soften nearby details. Begin with the material manufacturer’s guidance and a scrap test. Let the tool reach a stable setting, touch only the target area, and avoid holding heat against thin walls or unsupported edges.
Do not treat the 80W rating as a reason to work faster. Available power and appropriate working temperature are different questions. Good post-processing depends on material, geometry, accessory choice, contact time, and ventilation.
Step 4: Inspect the Surface Between Every Pass
Brush away loose debris and view the part from several angles. Side lighting can make raised contact points easier to see. If an area already matches the surrounding contour, leave it alone; repeated passes can turn a small defect into a low spot.
For visible surfaces, stop before cosmetic finishing and decide whether the project calls for compatible sanding, filling, priming, or another method. Heated smoothing is one option in a broader post-processing workflow, not a universal substitute for every finishing technique.
Care for the Tool After Support Removal
Switch the heated tool off, place it in a safe heat-resistant position, and allow it to cool completely before changing accessories or storing the kit. Remove residue only with a method suitable for the accessory and material. Inspect cords, tips, and attachments before the next session, and do not use damaged components.
The useful advantage of a 21-in-1 3D printer tool kit is organization: several finishing options stay together for a staged workflow. The result still depends on matching each step to the print rather than forcing one accessory to handle the entire cleanup.