
3D Print Smoothing Tool: A Step-by-Step Cleanup Workflow
August 12, 2026
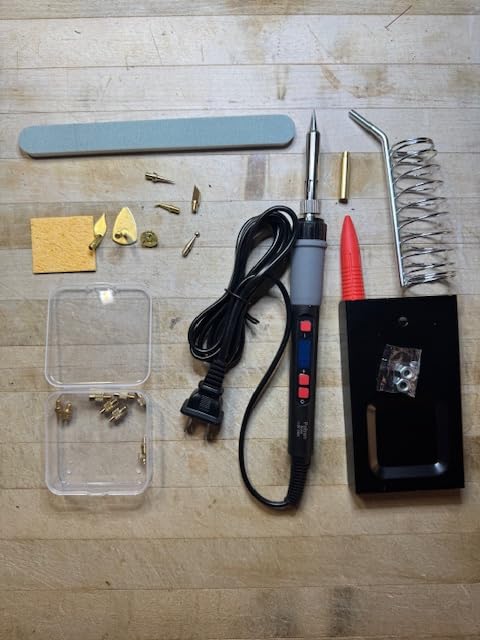
A rough support mark or visible seam does not always call for another print. A controlled cleanup sequence can help you decide what to trim, what to smooth, and where to stop. This guide organizes the 3D print smoothing tool and included accessories in the Paltren 21-in-1 kit into a practical bench workflow.
Start With a Cool, Stable Print
Let the part cool fully, remove it from the build plate, and place it on a stable work surface. Inspect support contact points, stringing, seams, and sharp burrs before choosing a tool. Eye protection and ventilation appropriate to the filament and task are sensible precautions; follow the filament maker’s guidance.
- Mark only the areas that need cleanup.
- Support thin walls and small features before applying pressure.
- Work from coarse removal toward fine finishing.
Use 3D Printing Tools in the Right Order
Begin with mechanical cleanup where possible. Remove loose support material, then use the most suitable included accessory for remaining edges or seams. The kit’s 80W LED digital tool belongs later in the sequence, when controlled heat is appropriate for the material and task.
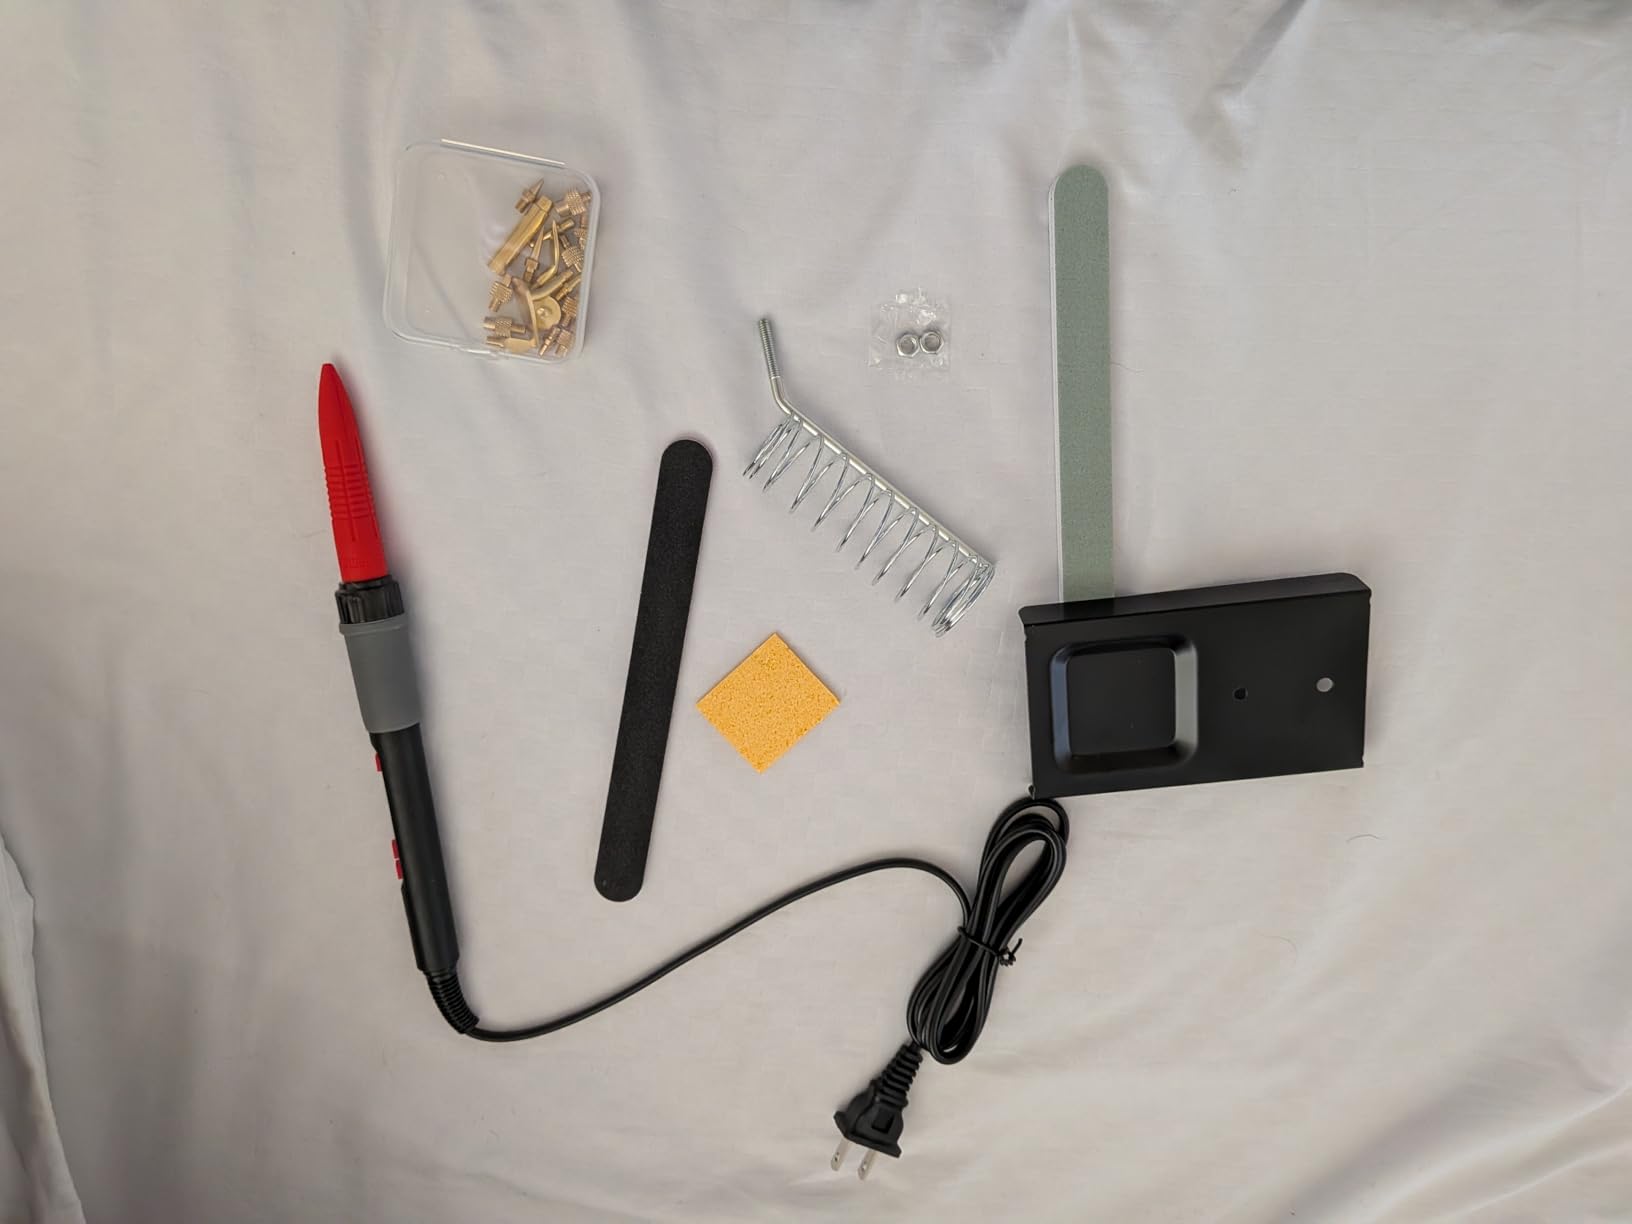
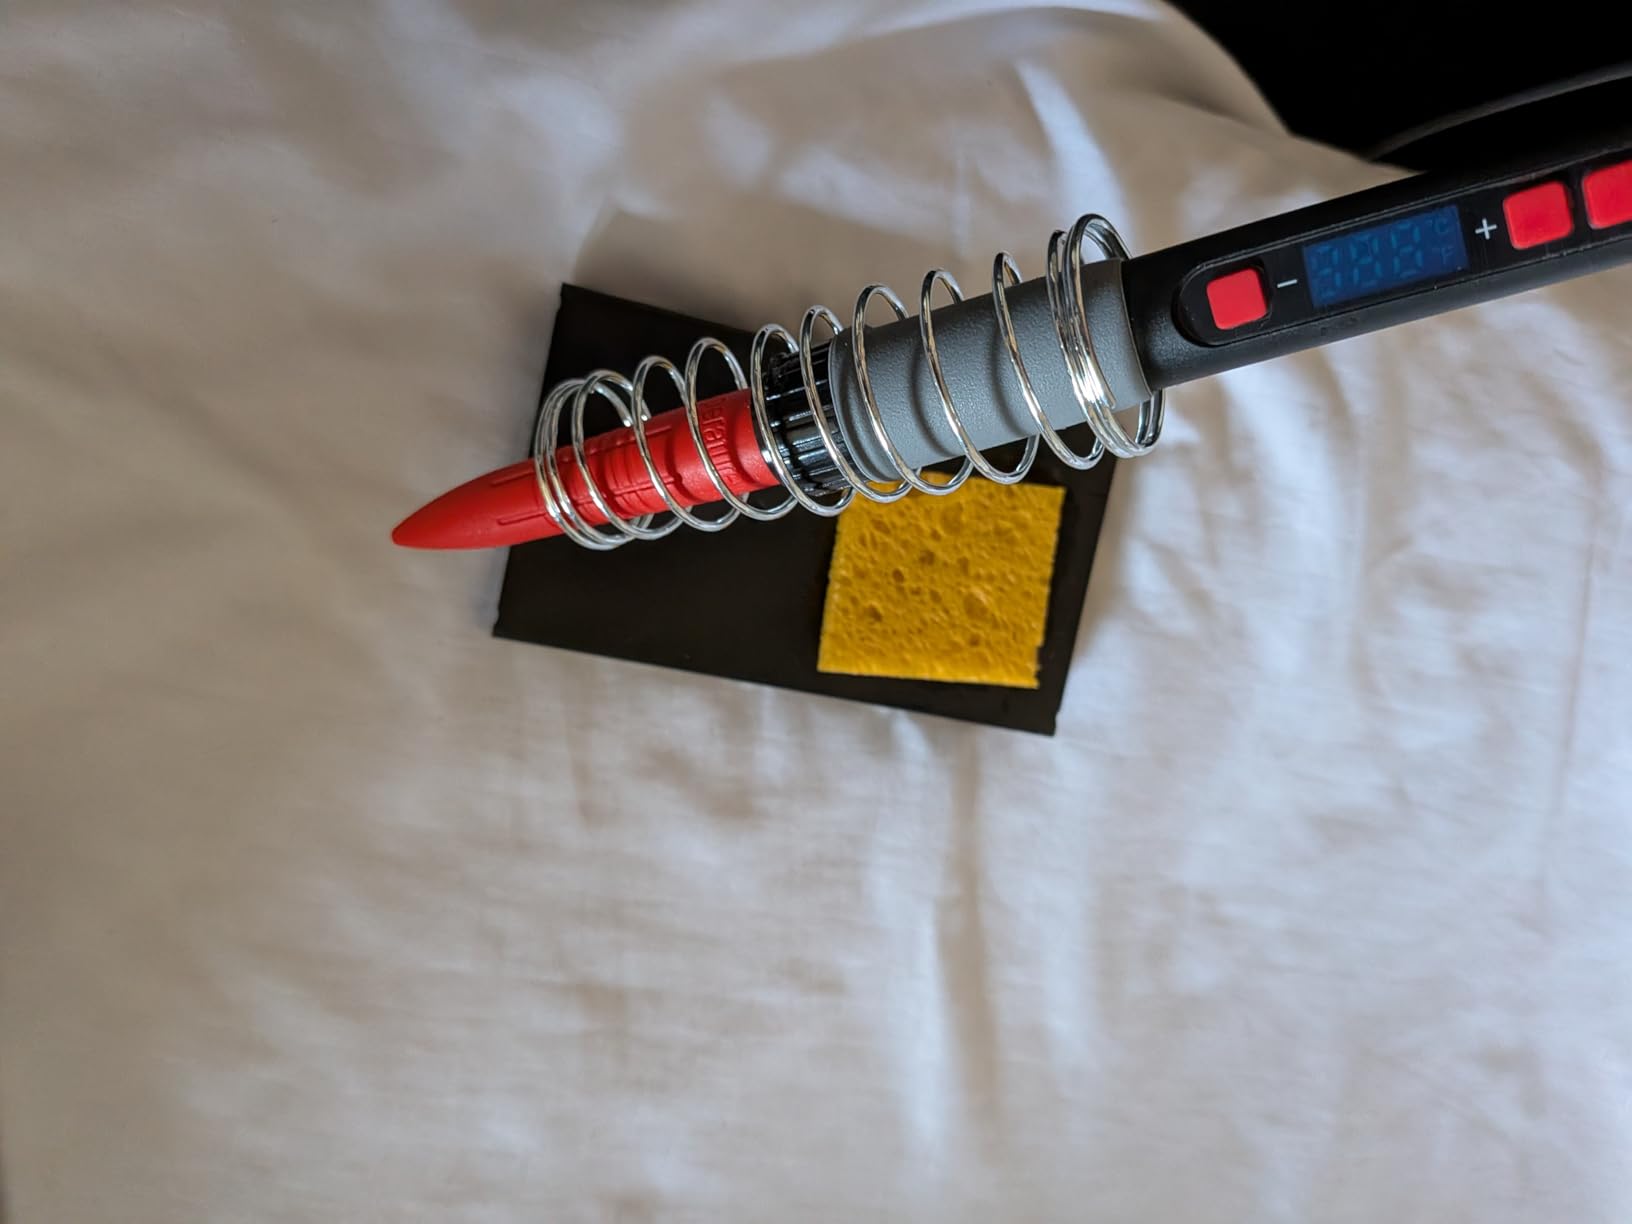
Test any heated step on scrap from the same filament first. Use short contact rather than holding heat in one place, because printed plastic can soften quickly. Keep the working tip away from skin, cables, and finished surfaces.
Match the Tip to the Cleanup Job
Different shapes call for different contact points. A broad area and a narrow seam should not be approached the same way. Select the smallest practical contact area, keep the part supported, and inspect after every pass. This reduces unnecessary changes to nearby detail.
A Repeatable Rough-Edge Cleanup Sequence
- Inspect the cool print under clear light.
- Remove supports and loose material without heat.
- Trim or refine raised areas gradually.
- Test the selected heated accessory on scrap.
- Make short, controlled passes on the target area.
- Allow the part to cool, then inspect before repeating.
Common Smoothing Mistakes to Avoid
- Starting too aggressively: large cuts or prolonged heat can remove more detail than intended.
- Skipping a scrap test: filament types and printed geometry can react differently.
- Working on an unsupported feature: thin sections can flex or deform.
- Trying to finish in one pass: several light passes provide more control.
Build a Simple Finishing Station
Keep cutters, cleanup accessories, the digital tool, a heat-safe rest, and scrap filament within reach. The compact 21-in-1 3D printer accessory kit is intended to group multiple finishing tasks in one setup, so the workflow can stay consistent from one project to the next.
Final Takeaway
Good finishing is less about forcing a perfectly smooth surface and more about making deliberate corrections. Inspect first, use mechanical cleanup before controlled heat, test on scrap, and stop as soon as the target defect is reduced.