
Plastic Welding Kit for 3D Print Repair: A Beginner Workflow
August 2, 2026
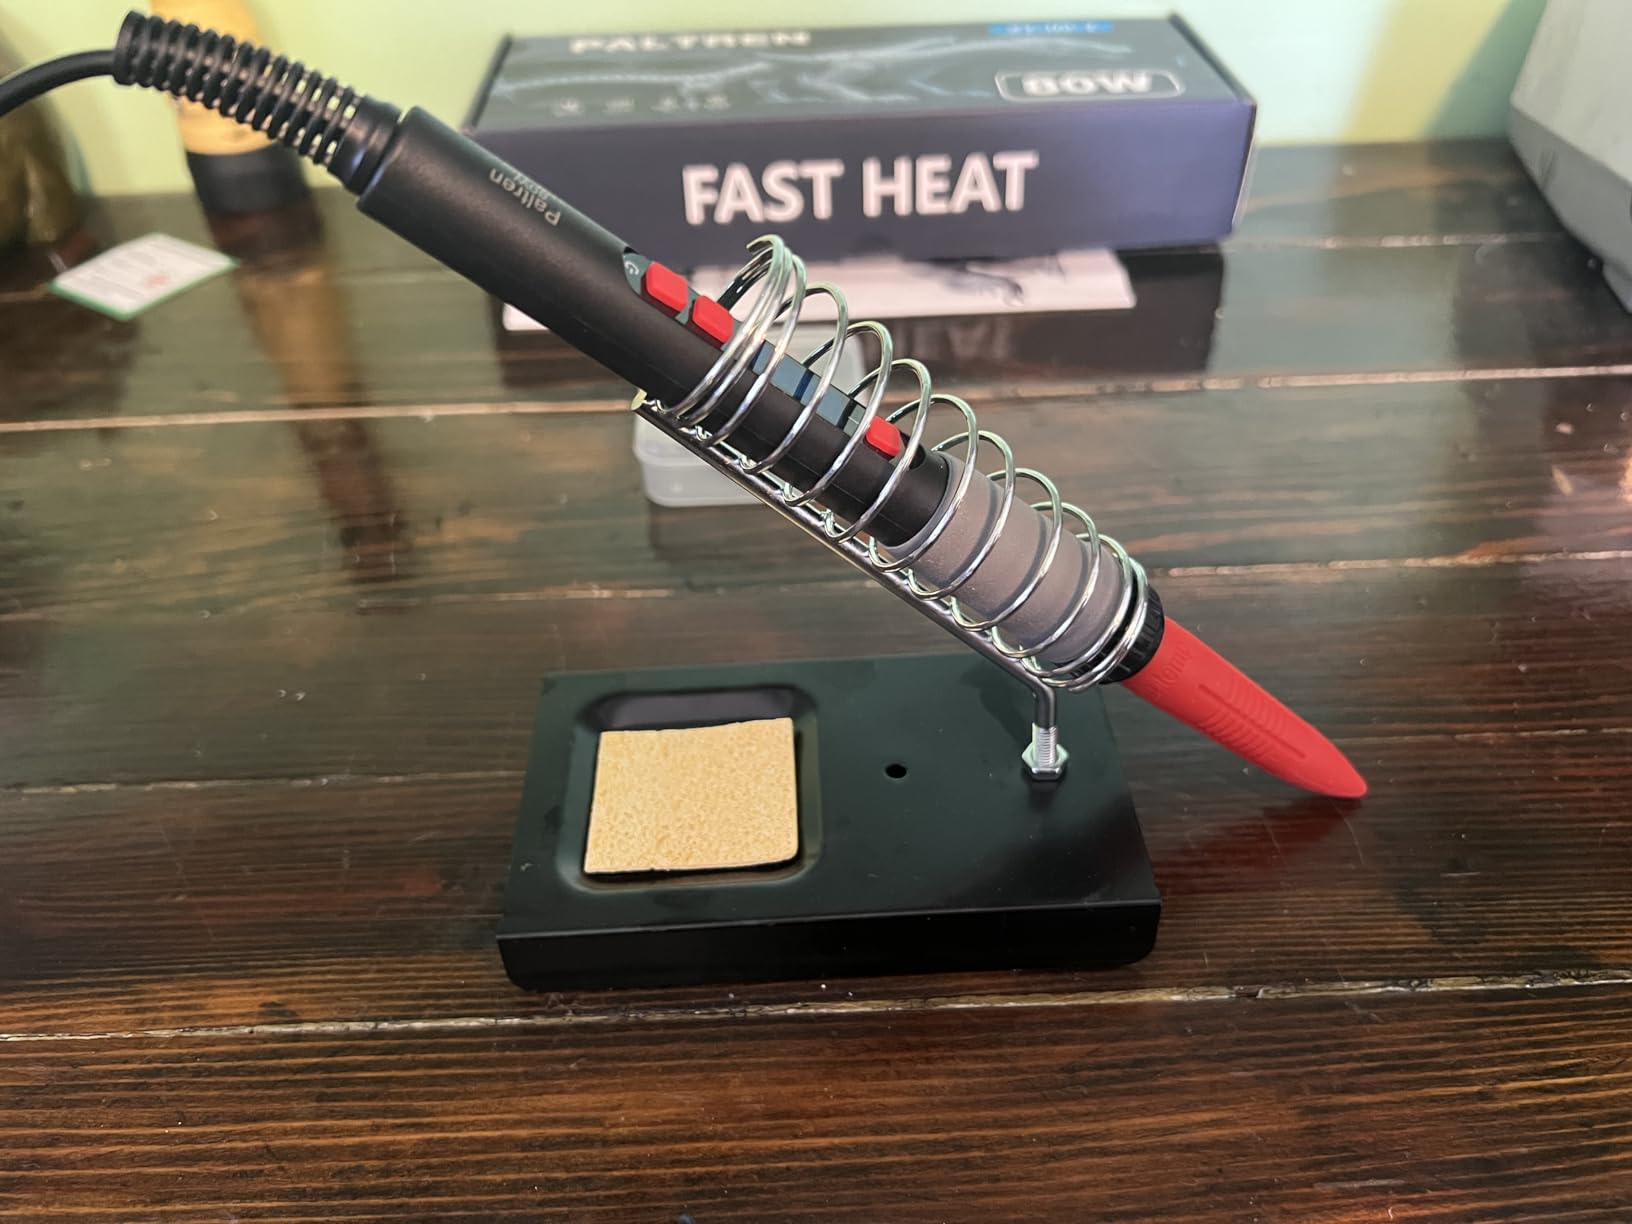
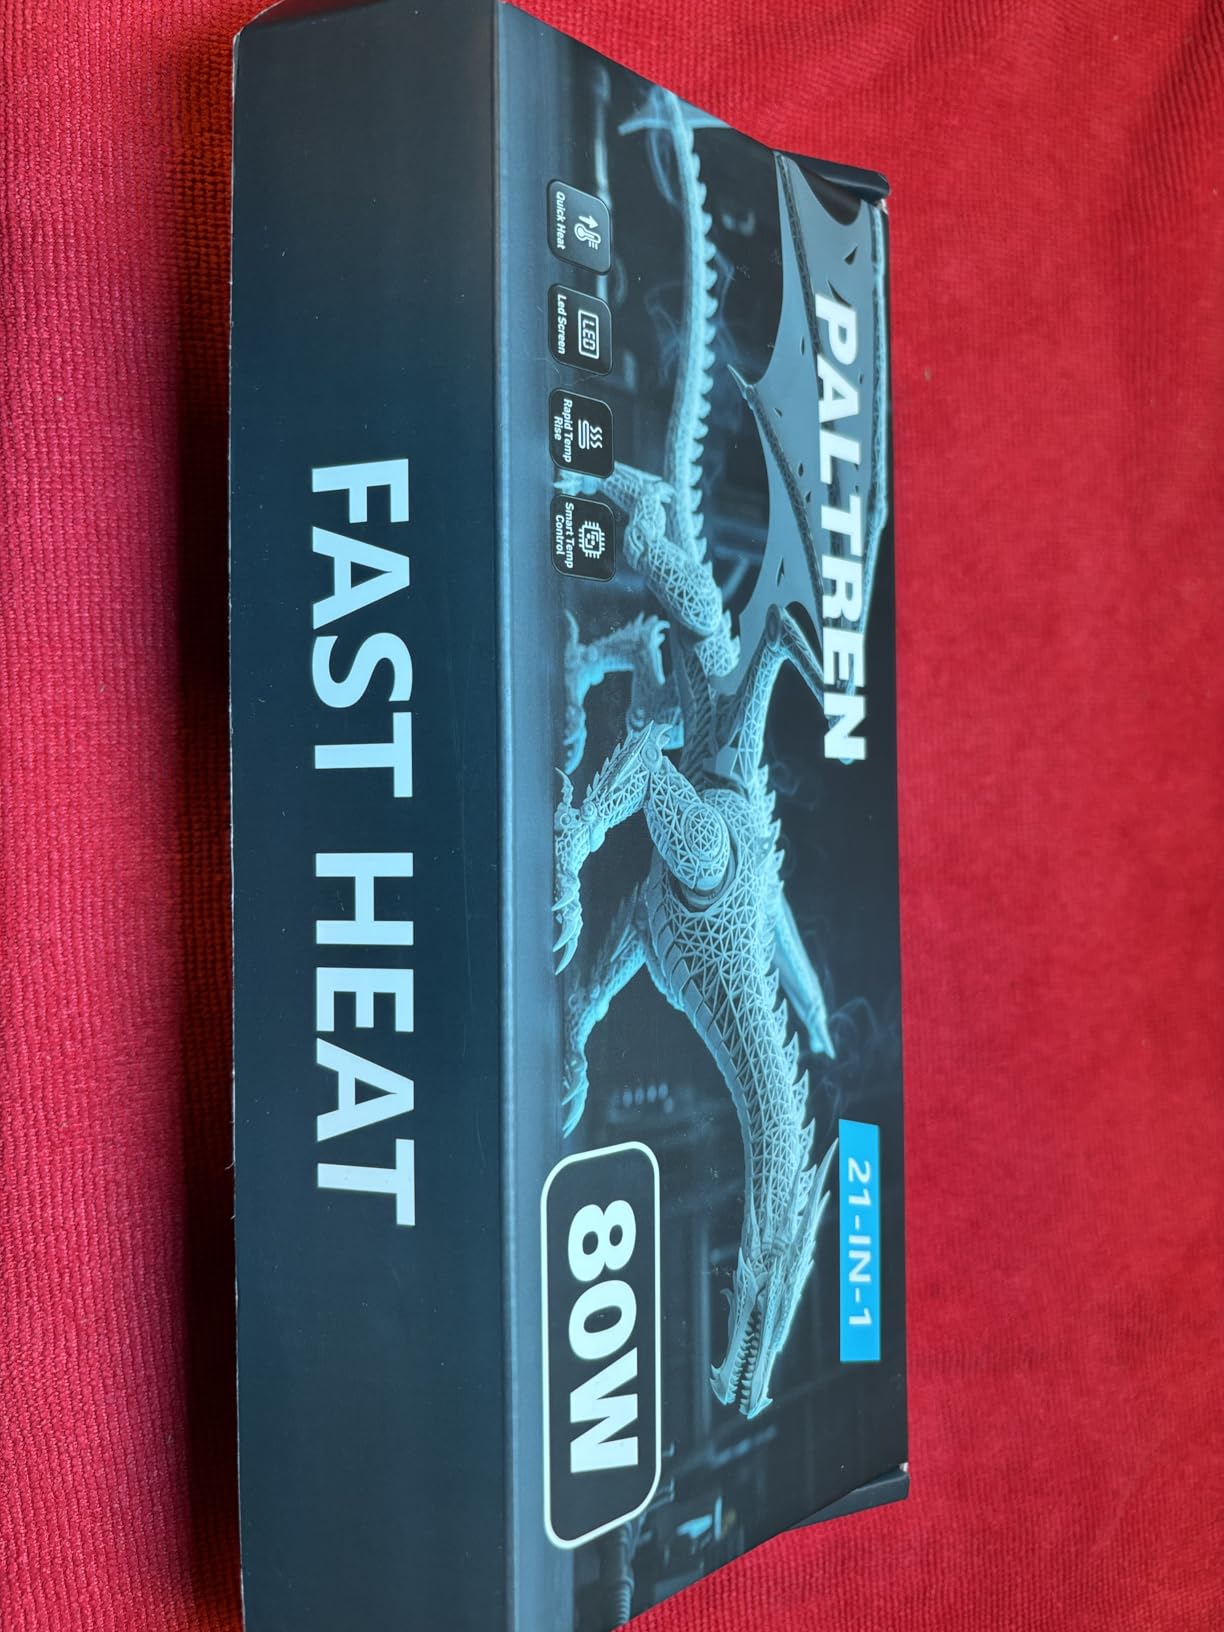
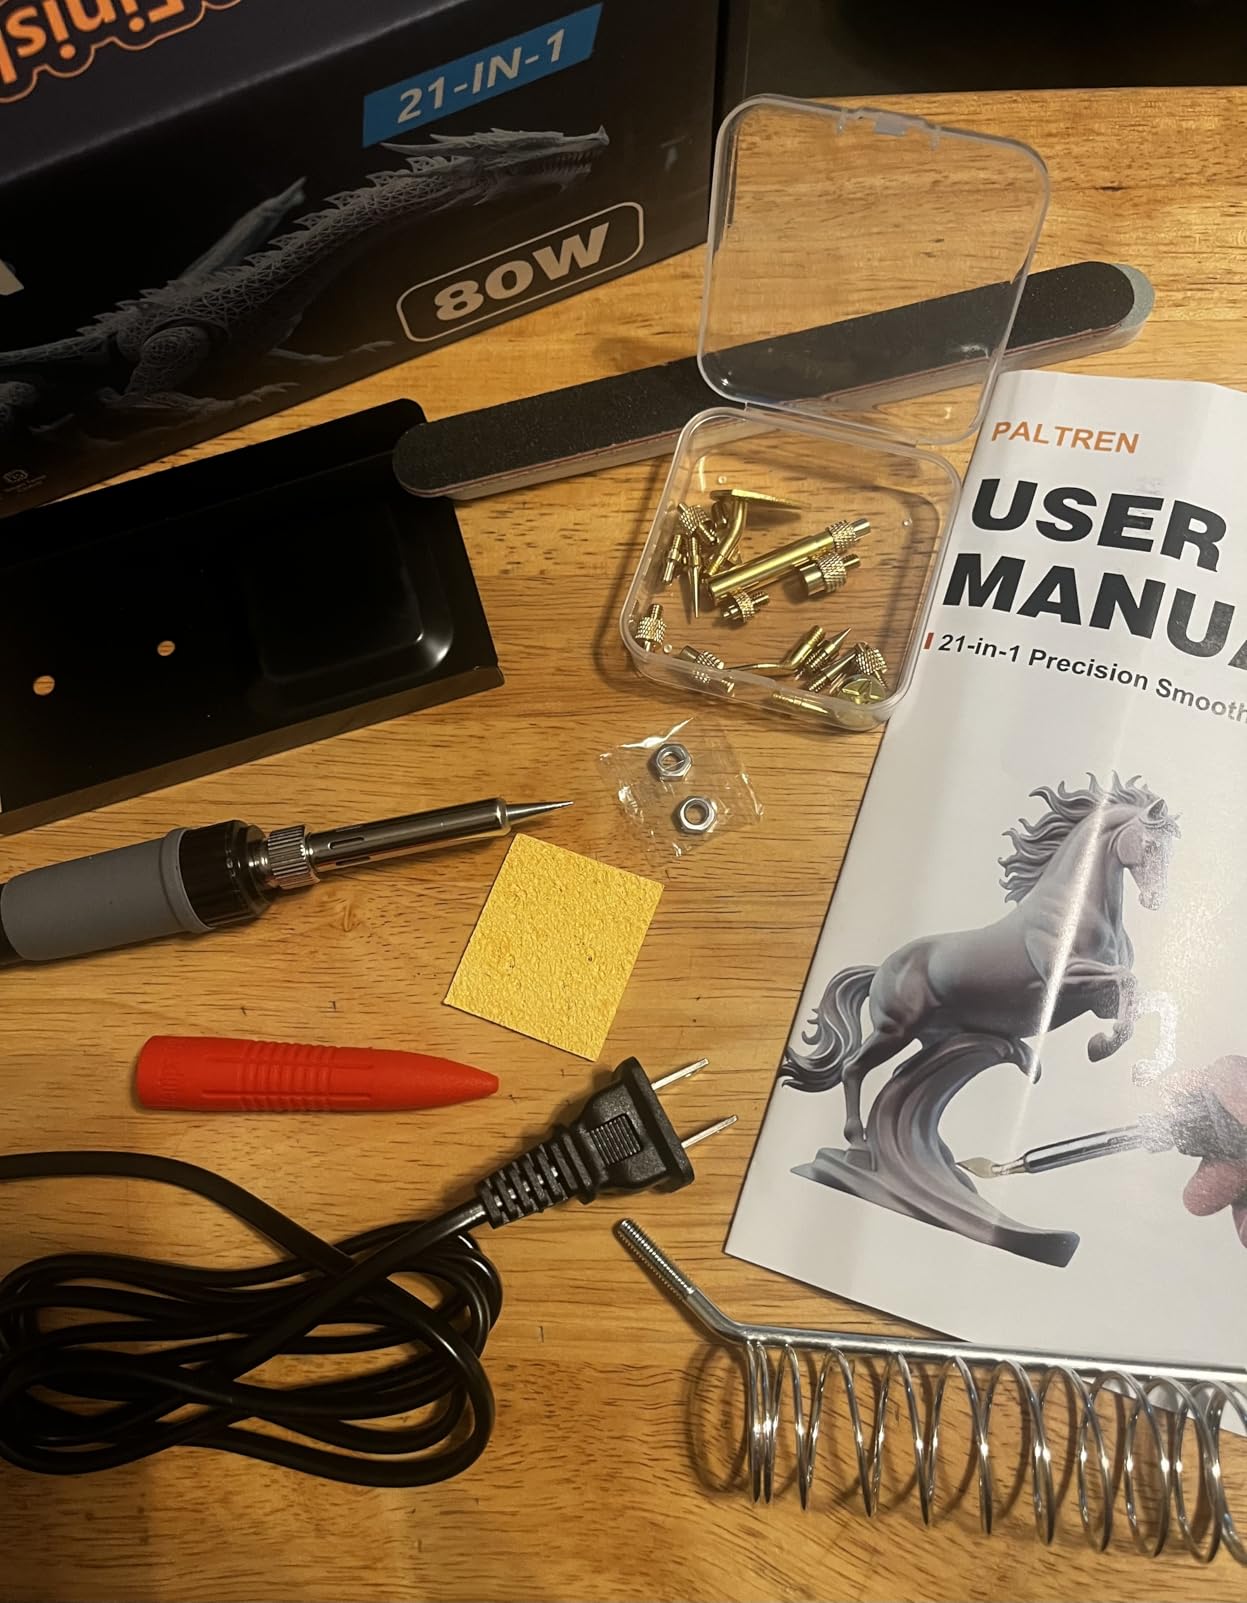
A snapped tab, separated seam, or rough patch does not always mean a printed part must be discarded. A plastic welding kit for 3D print repair gives makers a controlled heat tool for joining compatible material and refining the repair afterward. The Paltren 21-in-1 kit combines an 80W LED digital heat tool with accessories intended for smoothing and repair work.
This beginner workflow focuses on planning, conservative heat, and safe handling. Results depend on the print material, wall thickness, geometry, and temperature choice, so test on scrap from the same material before touching the finished part.
When a Plastic Welding Kit Fits a 3D Print Repair
Heat-based repair is most relevant when compatible plastic can be softened along a crack or seam. It may help with a clean break, a visible layer separation, or a joint that can be held in alignment. It is not a universal fix: mixed materials, heat-sensitive details, heavily loaded parts, and safety-critical components may require reprinting or another repair method.
Before switching on the tool, clean the area, dry-fit the pieces, and decide how they will be supported. A simple jig or clamp can preserve alignment, but it must stay clear of the heated tip and should not force a warped part into place.
Set Up the Digital Soldering Iron Conservatively
The kit uses an 80W LED digital tool, which allows the user to see and adjust the selected setting. Begin with material-maker guidance and a scrap test rather than guessing. Use a stable, heat-resistant work surface, provide suitable ventilation, and keep the hot tip away from skin, cables, and flammable items.
Select an accessory that suits the size of the repair. A broad contact area can affect more plastic than a narrow tip, while a fine tip concentrates heat. Neither is automatically better; the goal is to soften only the intended area without collapsing nearby walls or surface detail.
A Step-by-Step 3D Print Repair Workflow
- Identify the material. Confirm the filament or resin type and check whether heat repair is appropriate.
- Dry-fit the break. Align the surfaces and plan how the part will be held without putting hands near the hot tool.
- Test on scrap. Check the chosen setting, tip, contact time, and cooling behavior on matching waste material.
- Tack the joint. Make small, separated contact points first so alignment can be rechecked.
- Work in short sections. Move gradually along the seam instead of dwelling in one spot.
- Let the part cool. Keep it supported and avoid flexing the repair before the material has stabilized.
- Refine only as needed. Use the appropriate included accessory to address raised edges without removing unnecessary material.
The Paltren digital soldering iron kit keeps the heat tool and multiple finishing accessories together, which is useful when a repair requires both joining and surface cleanup.
Common Mistakes That Can Make the Damage Worse
- Starting too hot: excess heat can soften a wider area and distort dimensions.
- Skipping the scrap test: different materials and print settings do not respond identically.
- Using filler from an unknown plastic: incompatible materials may not join as expected.
- Holding the part by hand near the seam: support it safely before bringing in a heated tool.
- Grinding away the repair immediately: allow full cooling before assessing the surface.
Choosing Between Repair and Reprinting
Repair makes sense when preserving the existing part saves assembly time, the damaged area is accessible, and the part is not safety-critical. Reprinting is often the cleaner choice when geometry is badly warped, a load-bearing feature has failed, or the original print parameters need correction.
For hobby benches that regularly handle seams, rough edges, inserts, and damaged prints, a compact 3D print smoothing tool kit can cover several finishing tasks without turning the article into a claim that one method suits every material.