
Wallpaper Tools Checklist: 7 Seam-Rolling Mistakes to Avoid
August 4, 2026
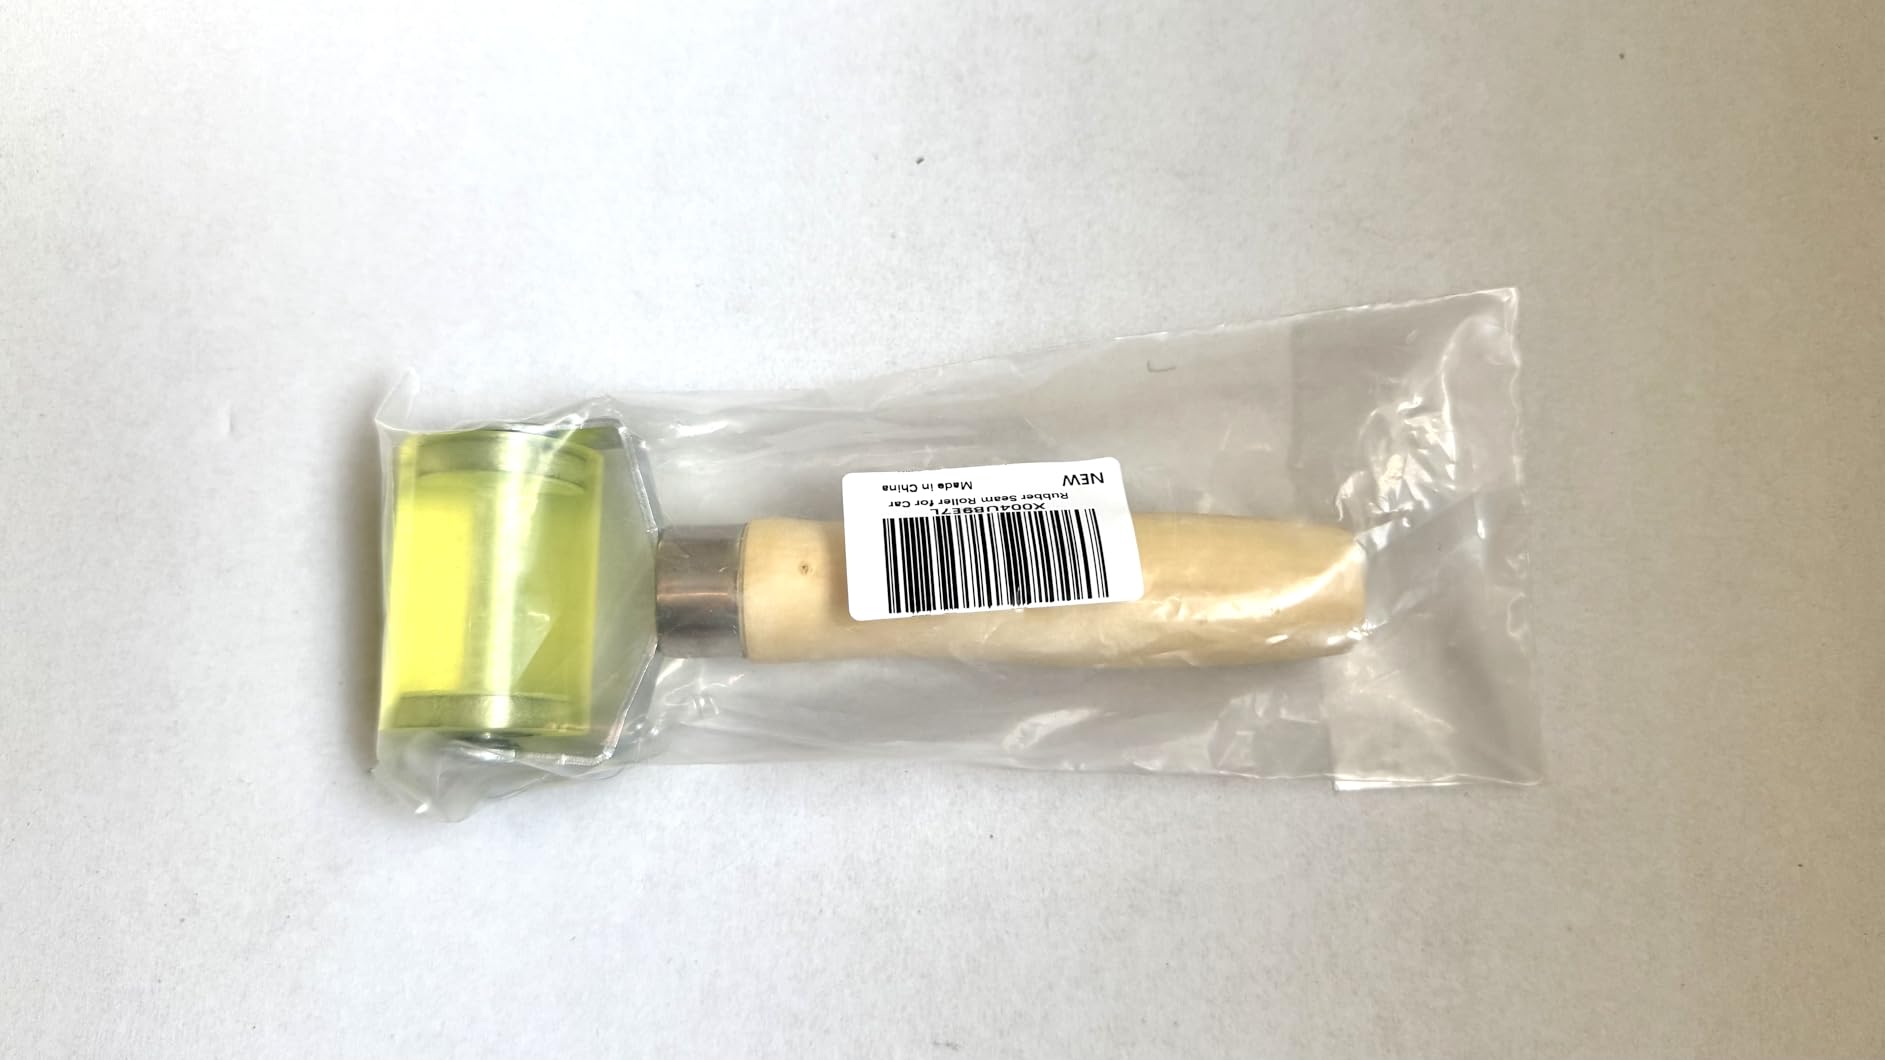
A short list of wallpaper tools can make installation more controlled, but the order and pressure behind each tool matter as much as the tool itself. A smoothing brush handles broad areas, a knife trims edges, and a compact roller helps press seams after the panels are aligned.
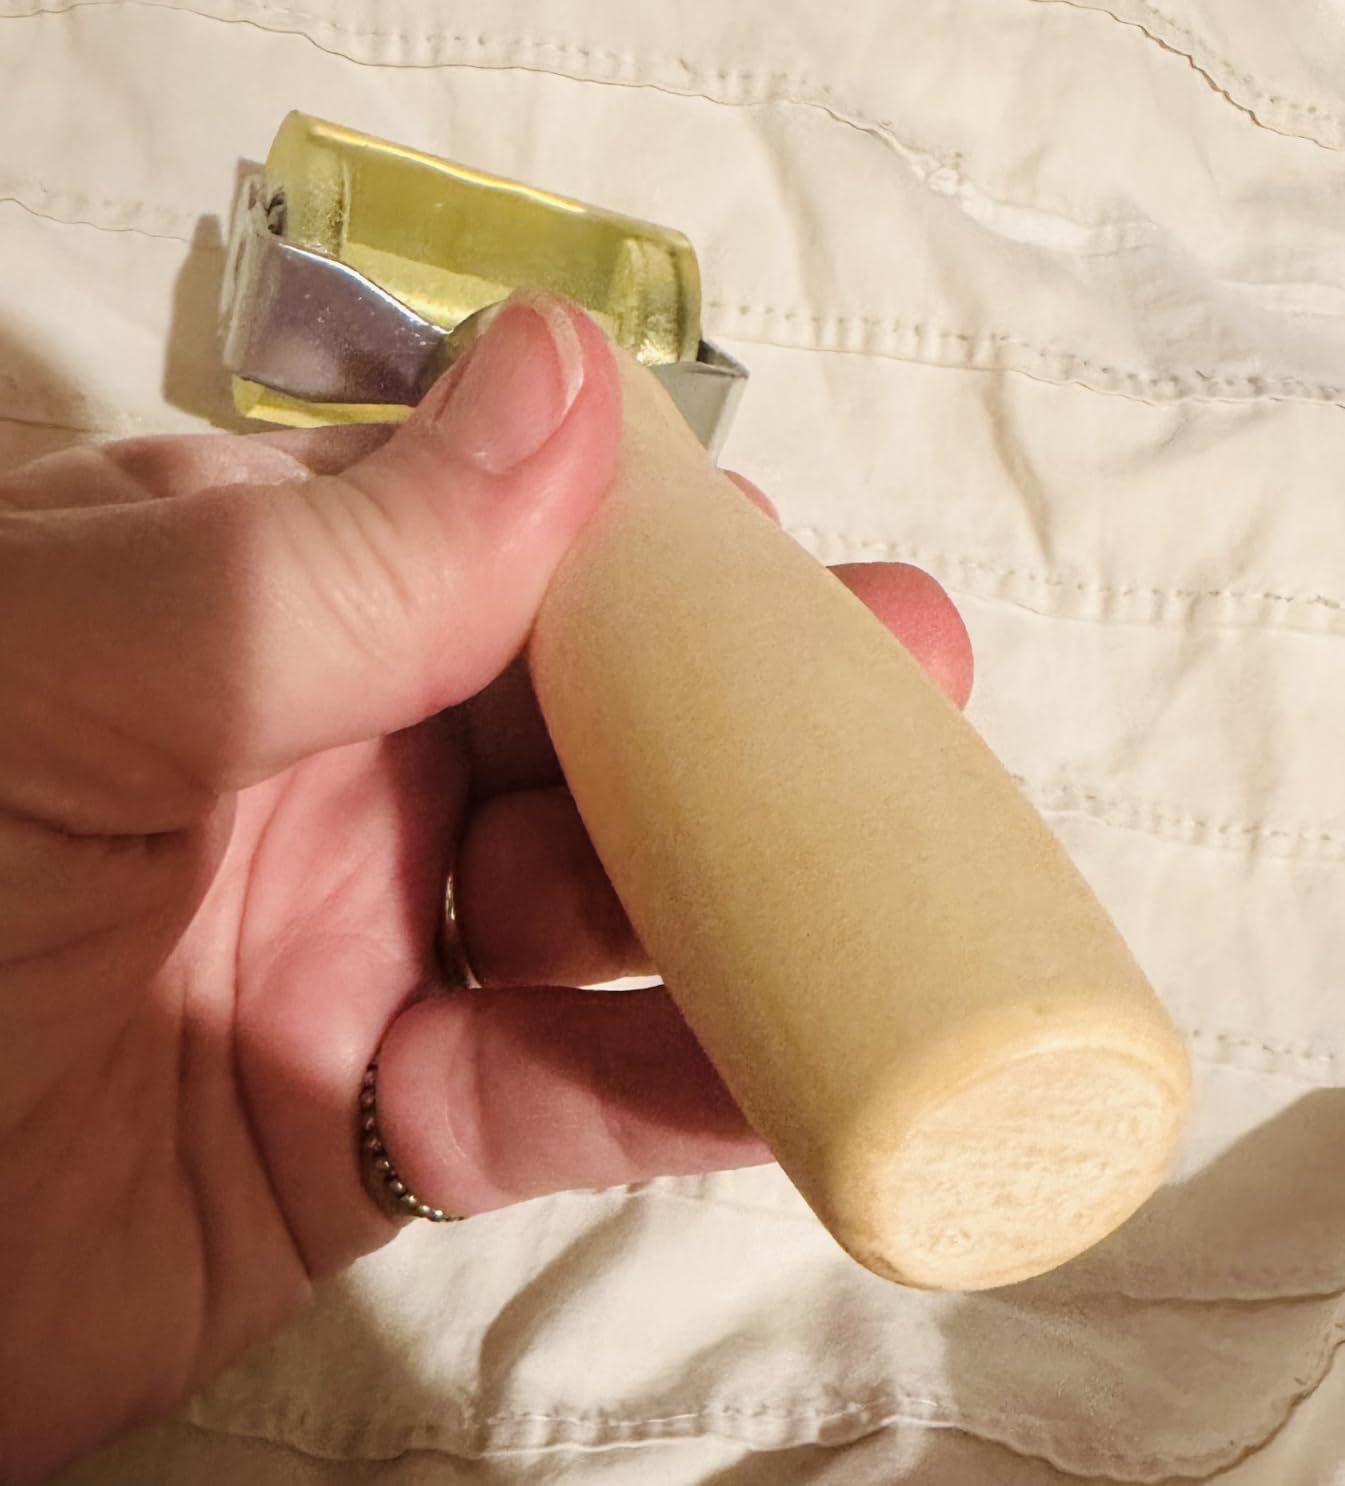
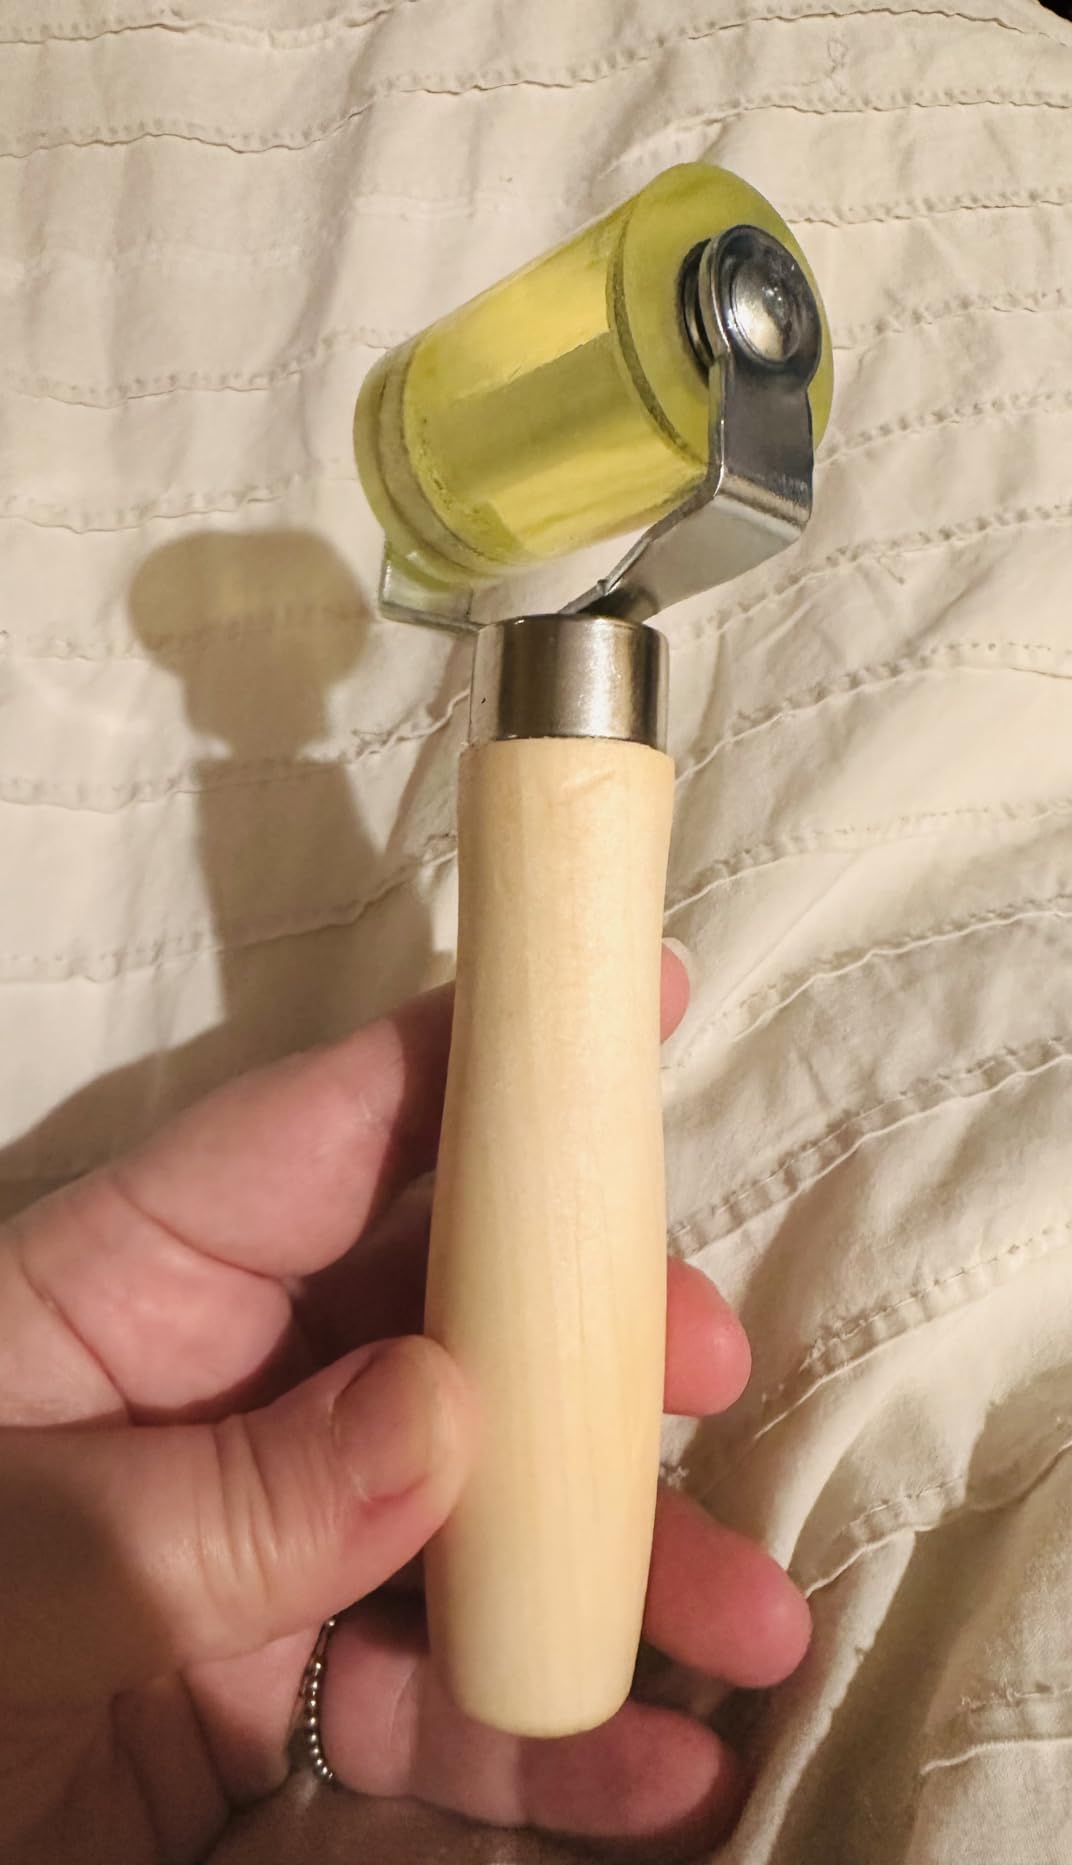
The Paltren Seam Roller with Dual Ball Bearings is designed to roll across a narrow working area with a smooth hand motion. This checklist focuses on process rather than promises: verify the wall, paper, paste, and manufacturer instructions first, then use the roller only where focused pressure is appropriate.
Wallpaper Tools Mistake 1: Rolling Before the Panel Is Aligned
Do not use firm pressure to correct placement. First position the panel, match the pattern, and smooth the broad field with the tool recommended for the material. Rolling too early can make repositioning harder and may lock a visible mismatch into the seam.
Mistake 2: Treating Every Wallpaper Surface the Same
Traditional pasted paper, coated wallpaper, textured finishes, and peel-and-stick products can respond differently to pressure. Read the wallcovering instructions and test the roller on an offcut or hidden area. If the finish marks, changes sheen, or compresses, stop and choose a gentler method.
Mistake 3: Starting With Maximum Pressure
A wallpaper roller should guide the seam down, not force it into submission. Begin with a light pass, inspect the edge, and add only the pressure needed. This approach gives you a chance to catch trapped debris, excess paste, or a misaligned pattern before it becomes harder to correct.
Mistake 4: Rolling Only Along the Visible Join
Before concentrating on the seam, smooth the surrounding panel according to the wallpaper instructions. Broad wrinkles or air pockets near the join can move toward the edge later. Work methodically so the seam is the final controlled step rather than the first place that receives pressure.
Mistake 5: Letting Paste Build Up on the Roller
Inspect the rolling surface between passes and clean it using a method compatible with the tool and adhesive. Dried residue can transfer back to the wallcovering or create an uneven contact point. Keeping the tool clean is especially important on light colors and visible feature walls.
Mistake 6: Repeatedly Working One Delicate Spot
More passes are not automatically better. Repeated back-and-forth rolling can disturb a wet seam or mark a delicate surface. Make a controlled pass, inspect from the front and at an angle, then leave the area alone when the edge is seated as intended.
Mistake 7: Skipping a Final Edge Check
After completing the panel, check inside corners, outside corners, trim lines, and the full seam under normal room lighting. A compact wallpaper seam roller is useful for targeted pressure, but the final inspection tells you whether another light pass is actually needed.
A Simple Order of Work
- Prepare the wall and confirm the wallpaper instructions.
- Measure, cut, and align the panel before firm pressure.
- Smooth the broad area with an appropriate wallpaper smoothing tool.
- Test the roller on an offcut or hidden area.
- Roll the seam lightly, inspect, and increase pressure only if suitable.
- Clean the tool and complete a final edge check.
The useful takeaway is simple: choose tools that fit the material, and use them in a deliberate sequence. The Paltren roller offers a compact option for the seam-pressing stage without replacing proper surface preparation or the wallpaper maker’s directions.