
How to Use a Sound Deadening Roller for Cleaner Car Audio Installs
July 7, 2026
Installing sound deadening mat looks simple until the material starts bridging over curves, lifting at the corners, or trapping tiny pockets of air under the foil. A good sound deadening roller gives you the pressure and control needed to make the adhesive bond evenly across door panels, trunks, floor pans, and speaker areas.
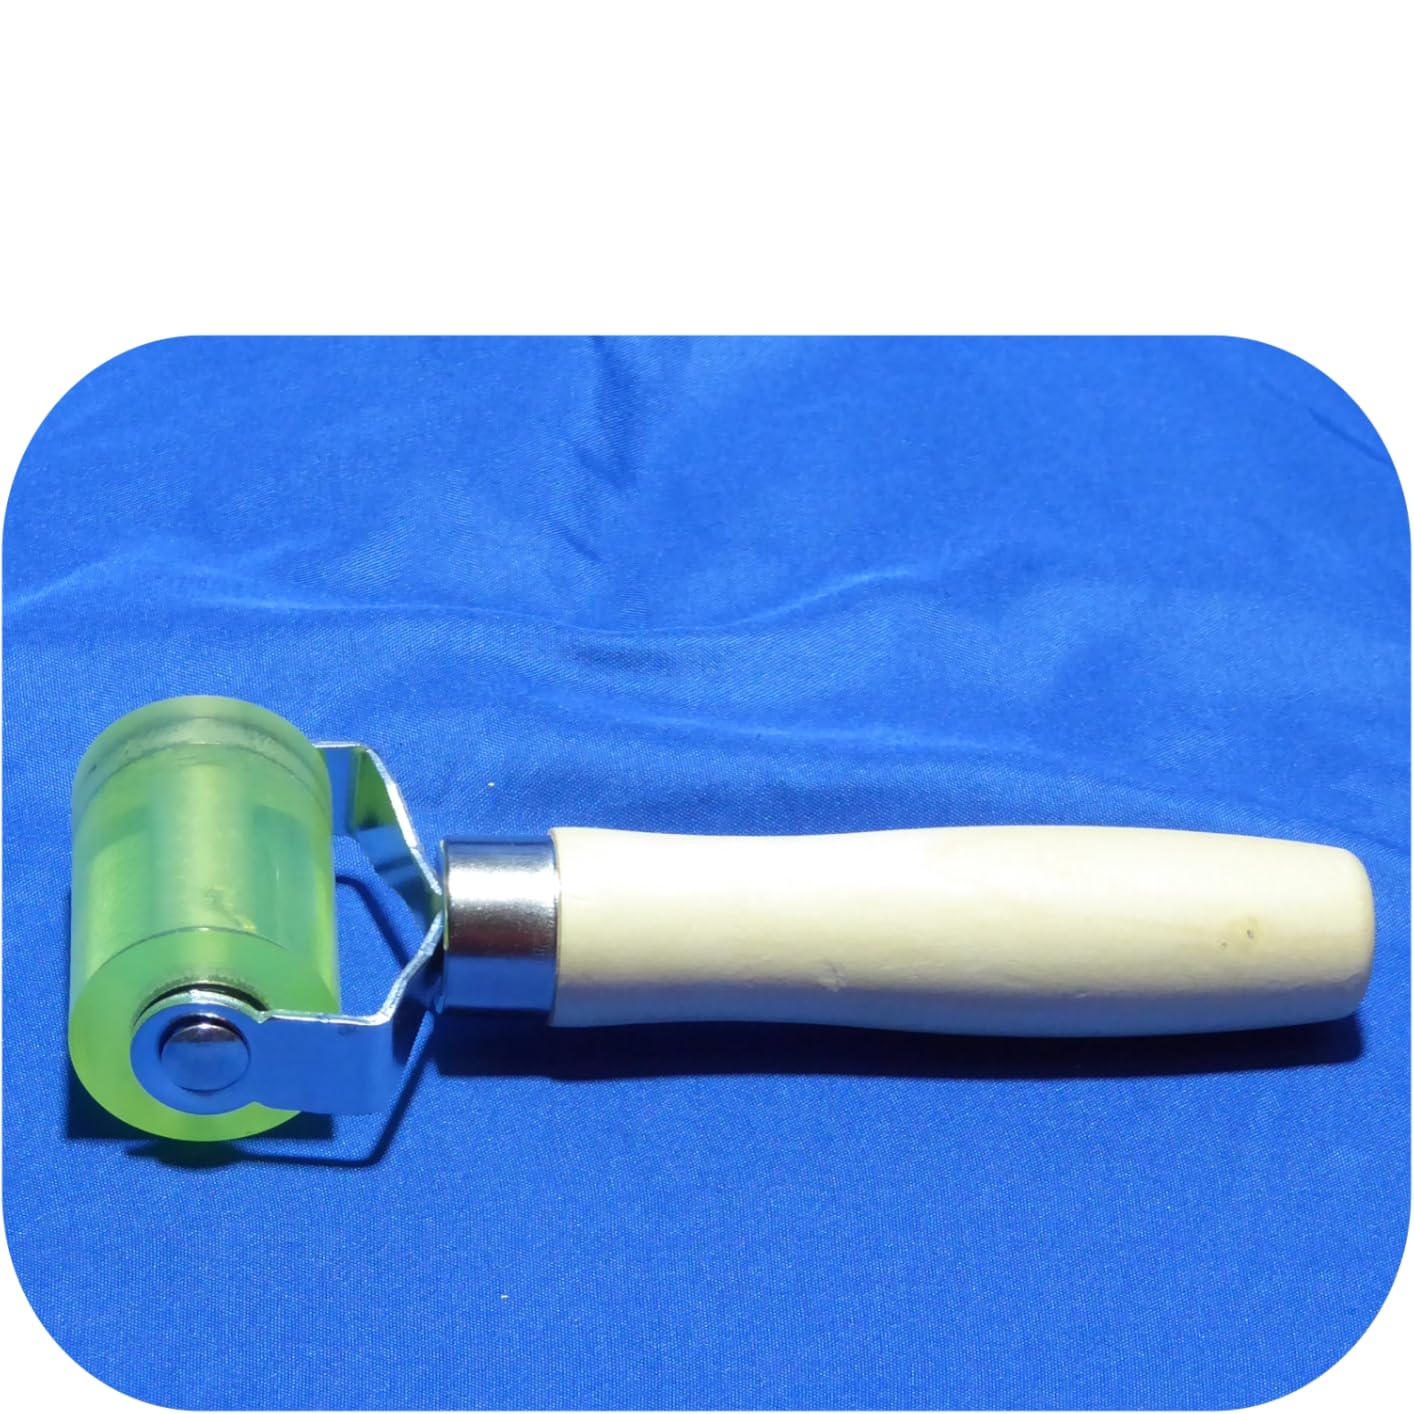
The Paltren Seam Roller with Dual Ball Bearings is a compact hand roller built for exactly that kind of firm, repeatable pressure. It is small enough to work around trim openings and stamped metal ribs, while the dual ball bearing design keeps the roller moving smoothly instead of dragging across the material.
Why a Sound Deadening Roller Matters
Sound deadening sheets need more than a quick press by hand. The adhesive layer has to make consistent contact with the panel underneath, especially around seams and contours. When the mat is only partly pressed down, vibration can still pass through weak spots and the material may peel back later in hot weather.
A roller concentrates pressure into a narrow contact area. That helps flatten the butyl layer, push air toward the edges, and seat the foil surface without tearing it. For car audio projects, that means cleaner speaker installs, fewer rattles, and a more professional finish inside the door or cargo area.
Where to Use It During a Car Audio Install
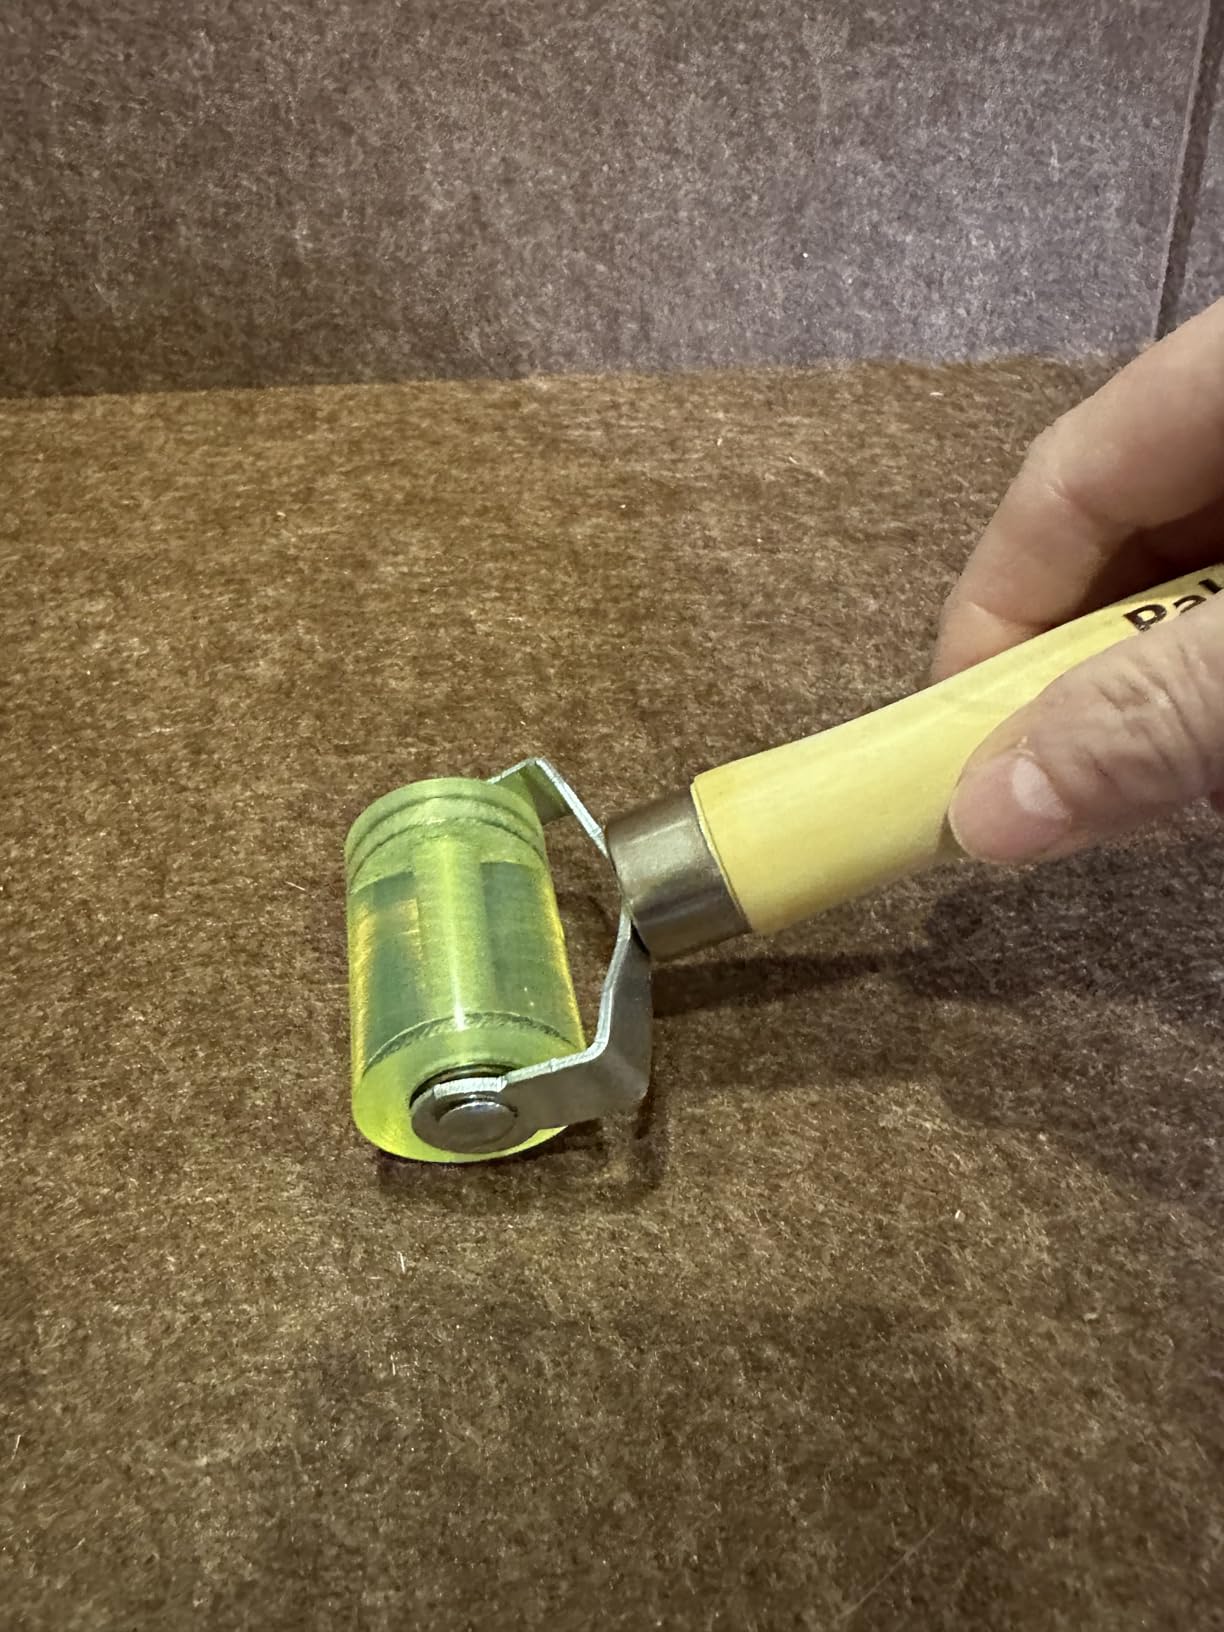
Start with flat sections first. After cleaning the metal panel and laying the mat in position, roll from the center outward in slow overlapping passes. This pushes trapped air away from the middle and helps the adhesive grab before you work into corners.
The Paltren seam roller is especially useful around speaker openings, door braces, wheel wells, and trunk seams. These areas usually have uneven shapes, so a palm or rag cannot apply the same steady pressure. Use the roller edge carefully near cutouts, then make another pass over the wider surfaces.
How Much Pressure Should You Apply?
Use firm, controlled pressure rather than trying to crush the material in one pass. The goal is a smooth bond, not a dented panel. If you see the foil pattern becoming more defined against the surface below, that usually means the adhesive is seating properly.
For thicker sound deadening sheets, make several passes from different directions. On tight curves, short strokes work better than long ones. The handle gives enough leverage for steady force, while the rolling head helps avoid the scuffing that can happen when pressing with a hard plastic tool.
Small Details That Make the Job Cleaner
Keep the roller clean as you work. If adhesive residue, dust, or foil scraps collect on the head, wipe it before moving to a visible area. A clean roller surface helps prevent marks and keeps pressure even across the mat.
It also helps to warm stiff material slightly before rolling, especially in a cold garage. Once the sheet is flexible, the sound deadening roller tool can press it into shallow ribs and curves with less effort.
Best Fit for DIY Installers
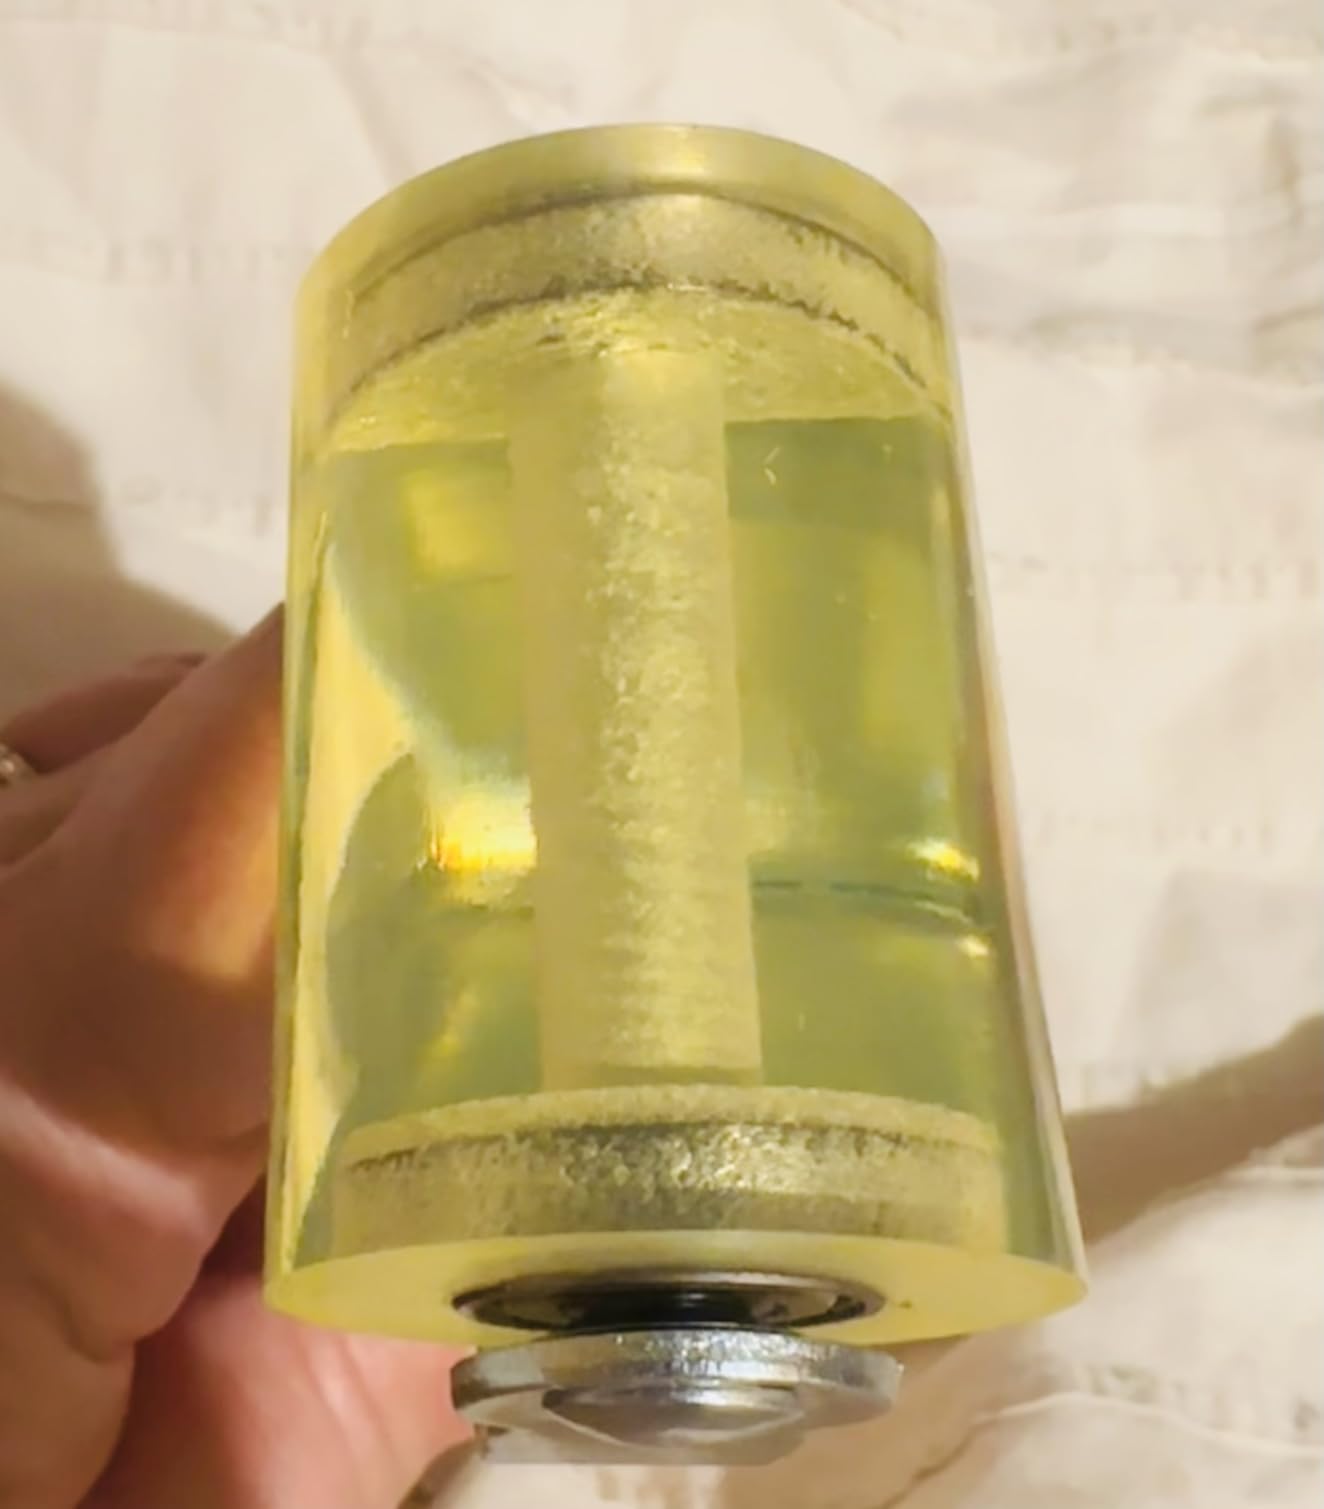
This tool makes the most sense for DIY car audio builders, van conversion projects, speaker upgrades, and anyone adding vibration control material without a full shop setup. It is simple, durable, and easy to keep in the same kit as trim tools, utility blades, and panel clips.
If you are only installing one small patch, you can improvise. But for doors, trunks, floors, or multiple speaker locations, a dedicated roller saves time and gives the finished install a cleaner look. It is one of those small tools that feels optional until you use it once.