
Paint Cutting Edge Tool: 7 Setup Mistakes That Lead to Messy Trim Lines
AUGUST 6, 2026
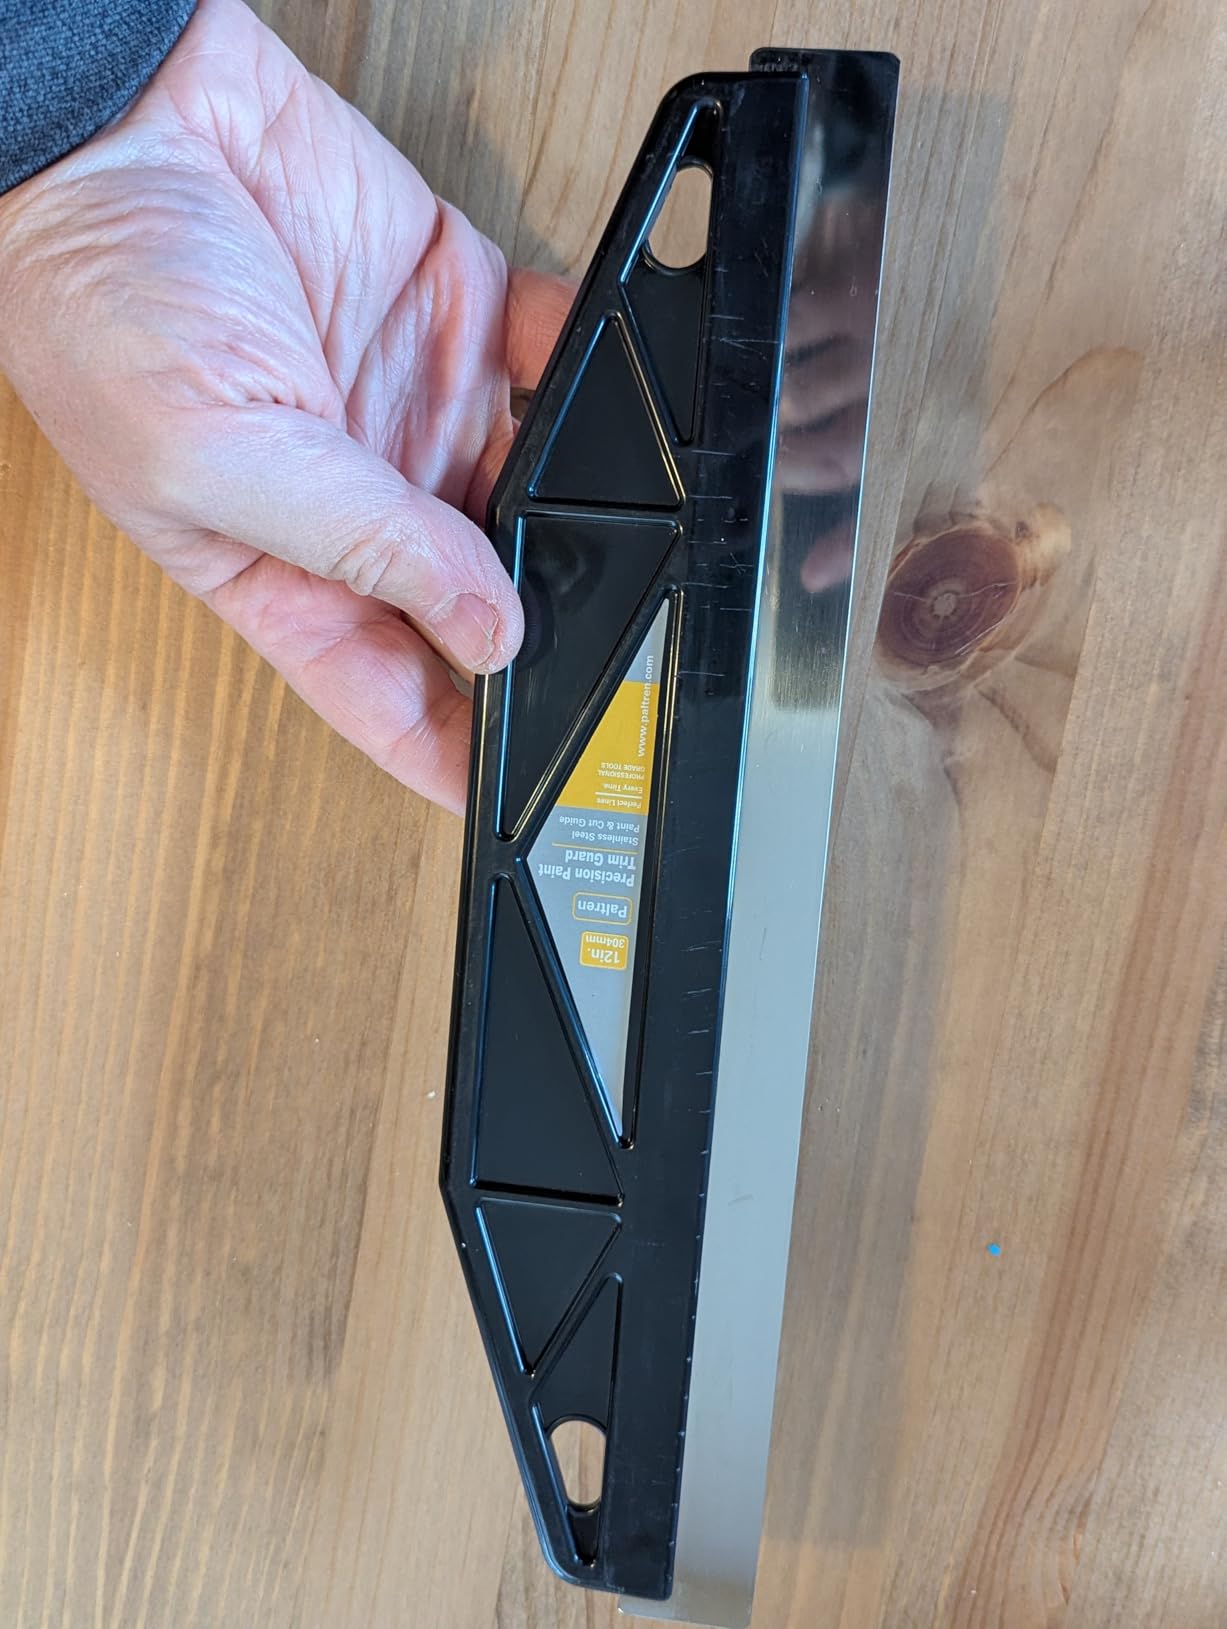
A paint cutting edge tool can make trim work more controlled, but the tool still depends on careful positioning, a clean edge, and a sensible painting sequence. The Paltren 12-inch Paint Edger & Trim Guard is a straight shielding tool designed to help separate the surface being painted from the adjacent trim, wall, or ceiling. Avoiding the setup mistakes below helps the guard do that simple job without adding preventable cleanup.
1. Starting With a Dirty Straight Edge
Dried paint or dust along the working edge can keep the guard from sitting evenly against the surface. Before each section, wipe the 12-inch edge clean and check that no old paint bead is creating a gap. A smooth contact line matters more than pressing harder.
2. Loading Too Much Paint Near the Guard
A heavily loaded brush or roller can push paint underneath any shield. Apply a controlled amount near the boundary, then build coverage away from the edge. The guard is a barrier for careful edging, not a substitute for paint control.
3. Holding the Paint Trim Guard at an Unstable Angle
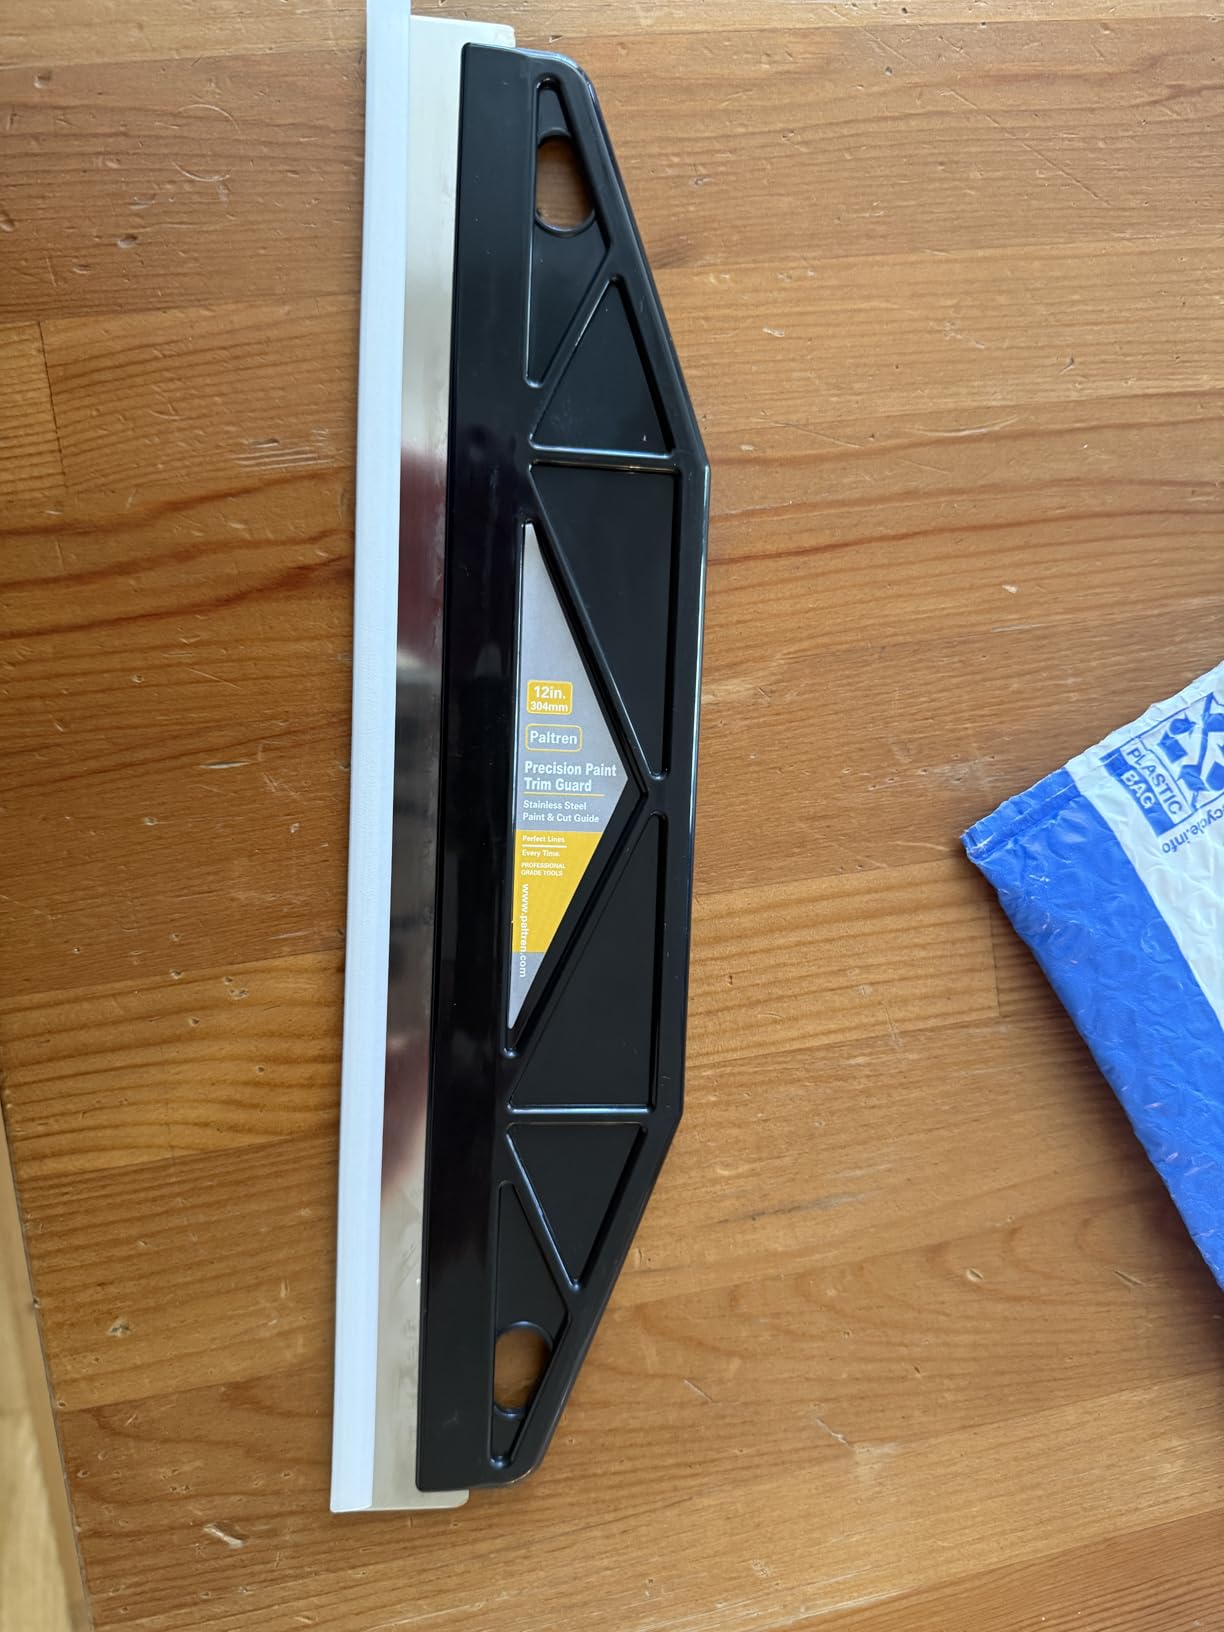
Keep the working edge seated against the boundary while holding the rest of the tool clear of the wet area. If the angle changes while painting, the contact line can shift. Reposition deliberately rather than sliding through wet paint.
4. Dragging the Tool Across Fresh Paint
Lift the guard away after completing a short section. Sliding it sideways can smear the line you just created and transfer paint to the next area. Wipe the edge before placing it again, especially when changing direction around trim.
5. Trying to Cover a Long Edge in One Pass
Work in manageable sections that let you maintain steady contact. The 12-inch paint edger tool provides a useful span, but shorter moves make it easier to inspect the line, clean the shield, and correct your hand position.
6. Ignoring Corners and Surface Changes
A straight shield works best on straight boundaries. Stop before inside corners, textured transitions, or raised molding interrupts the contact edge. Treat those areas separately with an appropriately sized brush instead of forcing a rigid straight edge into an uneven space.
7. Skipping the Final Edge Check
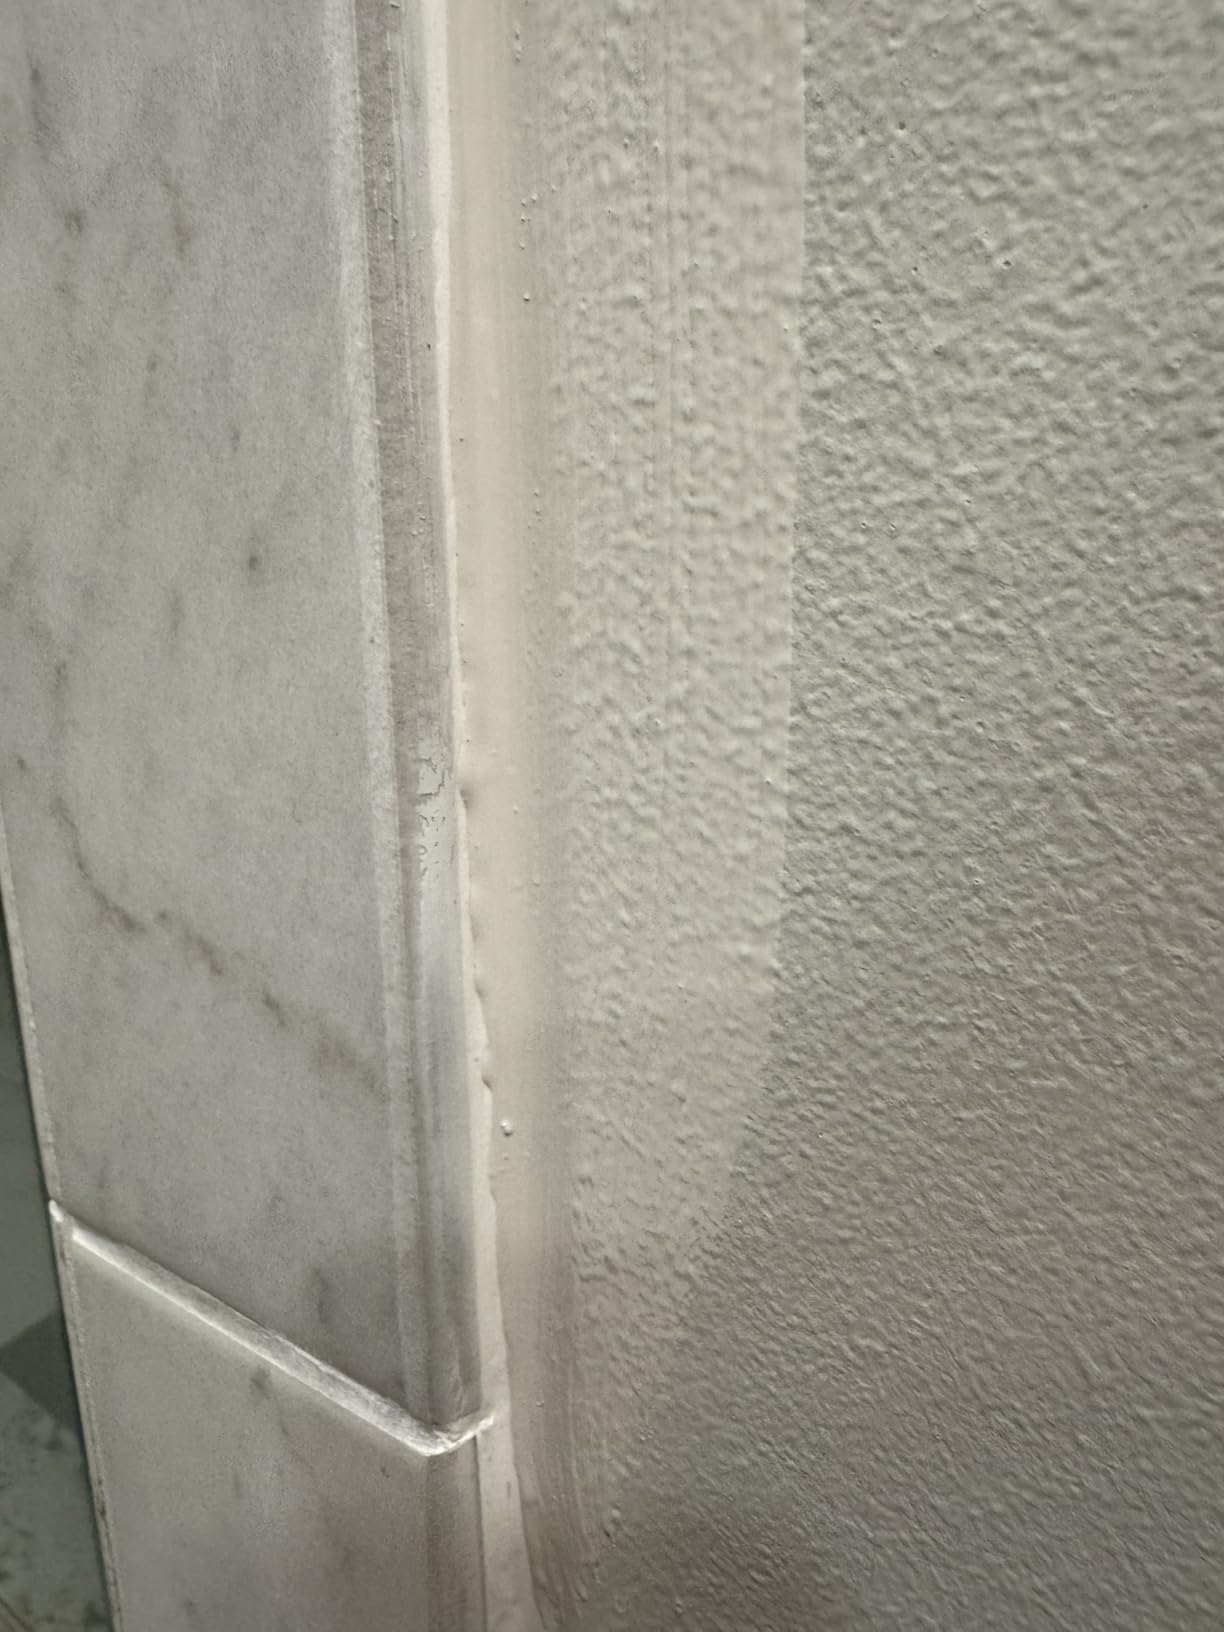
Inspect each section while the paint is still workable. Look for a small gap, a transfer mark, or paint collecting on the shield. A quick check between placements is easier than repairing a dried line later.
A Simple Paint Edging Workflow
- Clean and dry the guard edge.
- Seat it against a straight, stable boundary.
- Apply a moderate amount of paint near the edge.
- Lift the guard instead of dragging it.
- Wipe, inspect, and reposition for the next section.
This method keeps the role of the trim painting tool clear: it helps define the boundary while your paint load, movement, and cleanup determine the finish.